2.0.0 - Animal Crossing: New Horizons Datamine
Special thanks to @_Ninji for their scripts and tools which saved me a tremendous amount of time and energy getting everything set up!
Thanks to cestislife#0473 and Stoney#9215 for testing, general game knowledge, and discussion, and Super ‘Supper Wang’ Spazzy (SuperSpazzy#9209) for cracking hashes and generating map images of Kapp’n Boat Tour Islands.
Please link back to this page when using it as a source, as the contents may change over time as further datamining reveals more details or results in fixes here.
If you notice any inaccuracies, please contact me on Discord (asteriation#6884) (preferred), or via email at [email protected].
Language: EN | JA
Please send any gameplay related questions to the ACNH Info Server.
EventFlows
Weather
Two identical new weather patterns were added (Fine08, Fine09). These are used on certain Kapp’n tour islands.
Weather
| Name | 0:00 | 1:00 | 2:00 | 3:00 | 4:00 | 5:00 | 6:00 | 7:00 | 8:00 | 9:00 | 10:00 | 11:00 |
|---|---|---|---|---|---|---|---|---|---|---|---|---|
| Fine08 (AM) | Clear | Clear | Clear | Clear | Clear | Clear | Clear | Clear | Clear | Clear | Clear | Clear |
| Fine08 (PM) | Clear | Clear | Clear | Clear | Clear | Clear | Clear | Clear | Clear | Clear | Clear | Clear |
| Fine09 (AM) | Clear | Clear | Clear | Clear | Clear | Clear | Clear | Clear | Clear | Clear | Clear | Clear |
| Fine09 (PM) | Clear | Clear | Clear | Clear | Clear | Clear | Clear | Clear | Clear | Clear | Clear | Clear |
(using the same translations used by MeteoNook: 快晴 = Clear, 晴れ = Sunny, 曇り = Cloudy, 雨雲 = Rain Clouds, 雨 = Rain, 大雨 = Heavy Rain).
Wind
| Name | 0:00 | 1:00 | 2:00 | 3:00 | 4:00 | 5:00 | 6:00 | 7:00 | 8:00 | 9:00 | 10:00 | 11:00 |
|---|---|---|---|---|---|---|---|---|---|---|---|---|
| Fine08 (AM) | Land, Weak | Land, Moderate | Land, Moderate | Land, Strong | Land, Strong | Land, Weak | Land, Weak | Calm | Sea, Weak | Sea, Weak | Sea, Weak | Sea, Weak |
| Fine08 (PM) | Sea, Weak | Sea, Weak | Sea, Strong | Sea, Strong | Sea, Weak | Sea, Weak | Calm | Land, Weak | Land, Weak | Land, Weak | Land, Moderate | Land, Weak |
| Fine09 (AM) | Land, Weak | Land, Moderate | Land, Moderate | Land, Strong | Land, Strong | Land, Weak | Land, Weak | Calm | Sea, Weak | Sea, Weak | Sea, Weak | Sea, Weak |
| Fine09 (PM) | Sea, Weak | Sea, Weak | Sea, Strong | Sea, Strong | Sea, Weak | Sea, Weak | Calm | Land, Weak | Land, Weak | Land, Weak | Land, Moderate | Land, Weak |
(using 海弱 = Sea, Weak; 海中 = Sea, Moderate; 海強 = Sea, Strong; 陸弱 = Land, Weak; 陸中 = Land, Moderate; 陸強 = Land, Strong; 凪 = Calm).
Ordinances
K.K. Slider must have performed to set ordinances.
Beautiful Island Ordinance
The rate at which weeds spread is roughly halved.
| Current Stage | Not Watered | Watered |
|---|---|---|
| 1 | 1% -> 1% | 6% -> 3% |
| 2 | 11% -> 6% | 21% -> 11% |
| 3 | 81% -> 41% | 100% -> 51% |
The rate at which random weeds appear, and the rate at which weeds grow between stages, is unchanged.
The maximum number of weeds before weed processing stops is halved from 150 to 75.
There is a 69% chance a flower rolls for reproduction despite not having been watered (watering counter will be incremented after reproduction roll as normal).
There is a 69% chance a watered flower will increment its watering counter both before and after rolling for reproduction.
Every time a flower rolls for reproduction (breeding or cloning), there is a 69% chance of calculating the odds of reproduction with counter + 1 instead (this roll is independent from the above rolls, and the +1 does not get saved).
Cockroaches are cleared and unable to spawn while the ordinance is in effect; the day the ordinance is turned off, it is as if everyone has logged in that day.
Spawns in water will only be fish (no trash or stone) or water eggs (if during Bunny Day events).
Early Bird Ordinance
Things generally open an hour earlier (closing time unchanged).
Night Owl Ordinance
Things generally close an hour later (opening time unchanged).
Bell Boom Ordinance
Item prices are generally increased by 20%. This applies more broadly than the Nook Friday discounts, and stacks with the Nook Friday discount (for a final price of 84%) when applicable.
Nook Friday
This event discounts item prices in Nook’s Cranny by 30%. You must have upgraded both Resident Services and Nook’s Cranny to encounter this event, which runs in the later portion of November.
Brewster
Unlock Conditions
The conditions for Blathers to begin the interaction to find Brewster are:
- single player mode (no local co-op)
- no visitors present
- K.K. Slider has visited
- the museum has upgraded to the point where art donations are possible
- it is not during the International Museum Day event (Stamp Rally)
- you have donated at least 1 of each of the following:
- fish
- sea creature
- bug
- fossil
- painting or sculpture
- you are the Island Representative
- you have talked to Blathers before
- you have talked to Blathers after upgrading the museum to accept art donations
- you are not in a dream
Daily Coffee
Visiting Brewster for coffee for the first time each day will set the cPlayer:PgeCoffeeTodayFlag flag, which causes the cPlayer:PgeRegularCoffee flag to be incremented. When this flag reaches certain values, Brewster will give you certain gifts:
| Value | Gift |
|---|---|
| 5 | roost sablé cookie (DIY, as card) |
| 10 | coffee beans |
| 15 | cup with saucer |
| 20 | coffee plant |
| 30 | siphon |
| 40 | pro coffee grinder |
| 50 | brewstoid |
Brewster’s greeting will change when the flag reaches: 1, 3, 5, 7, 9, 11, 13, 15. Take out is available if the flag is at least 3.
This flag is incremented during GrowUp before the daily announcement, which means you need to get coffee on 50 days, then visit Brewster on a 51st day to get the Brewstoid.
The daily flag will reset upon backwards time-travel. Since unlike the Brewster achievement, the cPlayer:PgeRegularCoffee flag is incremented before the next day's daily announcement, this means that backwards time-travel will desynchronize the two counters, and coffee obtained before backwards time-travel in one day will not be counted for getting gifts.
- For example, if you stay on one day, get coffee then time travel back to the start of the hour, and repeat this 50 times (ending with one final backwards time travel), you will get the Brewster achievement, but none of the coffees you bought will count towards getting gifts.
Kapp’n
K.K. Slider must have performed for Kapp’n to appear (specifically: cLand: TkkFirstLive must be set). Kapp’n will refuse to send you on a tour until you have used your free NMT island ticket.
Kapp’n picks an island for you to go to right before setting sail, and unlike with NMT islands, the game does not save upon departure, so it is possible to reset for a different island. The game may save anytime after closing dialogue with Kapp’n, so it is advisable to close the game after landing, before Kapp’n finishes talking.
Island Selection
Kapp’n Boat Tour Island Rate Calculator
TL;DR
| Island Type | Probability |
|---|---|
| Gyroid Fragment | 30% |
| Vegetable | 22% |
| Glowing Moss | 18% |
| Full Gyroid | 8% |
| Snowing* | 3.14% |
| Cherry Blossom* | 3.14% |
| Spring Bamboo* | 3.14% |
| Star Fragment* | 3.14% |
| Summer Shells* | 3.14% |
| Maple Leaves* | 3.14% |
| Mushrooms* | 3.14% |
Islands marked with * are not available until the date of the island has happened once since your character was created. You cannot visit these islands unless you've visited every other one of them at least the same number of times.
First tour and tours while inviting Brewster are always Gyroid Fragment.
Bad luck adjustments for the top four island types begin after 7 tours of not visiting one of those four types of islands.
Details
A few factors will ensure you are sent to a normal gyroid fragment island (Haniwa):
- First Kapp’n tour (player-based)
- Blathers has asked you to find Brewster, and you have not invited Brewster to your island yet
- Bad belongings fortune (this will also convert the gyroid fragments into clay)
If you have good belongings fortune, you skip the following roll and get a rare island. Otherwise, the game first rolls to check if you get a normal island (78%) or a rare island (22%).
If you rolled to get a normal island (78%):
- if in the last 7 Kapp’n tours you’ve been on, there is a type of normal island you have not been sent to (because you were sent to other normal islands, or were sent to 7 rare islands in a row, etc.), a normal island type is picked randomly out of the ones you haven’t been to for the longest (uniformly at random, counters cap at 20 days)
- else the game rolls according to SelectWeight (breaking the 78% up into: 30% Haniwa, 22% Vegetable, 18% OneRoom, 8% RareHaniwa)
If you rolled to get a rare island (22%):
- rare island types that you have visited more than another rare island type are removed from the pool
- a random rare island type is picked uniformly at random from the remaining pool
- if the date that the rare island type has never happened since you created your character (as measured by current game time), you cannot go to that rare island, and instead roll for a normal island as follows:
- if you have good belongings fortune, you get OneRoom
- else, you get a random normal island according to SelectWeight (38.46% Haniwa, 28.21% Vegetable, 23.08% OneRoom, 10.26% RareHaniwa)
- otherwise, you get the rare island rolled
For example, if you created your character on 2021/07/16 in the Northern Hemisphere, since the date for the SeaShell island type is August 31st in Northern Hemisphere, you cannot get sent to SeaShell islands unless your game time is after 2021/08/31.
Another example: if you have visited all the rare island types 3 times, except for the StarFragment island, which you have only visited 2 times, and have good belongings luck, you are guaranteed to roll for the StarFragment island, and, depending on your player creation date, may be sent to OneRoom instead.
Note that this is based on player create time (a new profile on a 5* island will not be able to go to rare islands for some time), and game time at the time that you talk to Kapp’n (you can time travel forward to unlock but going backwards will lock them again).
An island should then be picked randomly based on the island type.
Island Types
This section is a work in progress
| Type | Name | Date (Northern) | Date (Southern) | Weather | Notes |
|---|---|---|---|---|---|
| Normal | Haniwa | Game Time | Game Time | Fine00 | Plain island, gyroid fragment |
| Normal | Vegetable | Game Time | Game Time | Fine00 | Vegetables |
| Normal | OneRoom | August 1st* | February 1st* | Fine00 | Glowing moss, vines |
| Normal | RareHaniwa | Game Time | Game Time | Rain04 | Rainy (or snowy), full gyroids |
| Rare | SnowCrystal | February 24th | August 24th | Rain06 | Snowing |
| Rare | Sakura | April 10th | October 10th | Fine00 | Cherry Blossom |
| Rare | SpringBamboo | May 31st | November 30th | Fine00 | Spring Bamboo |
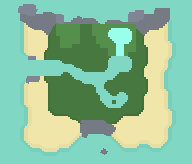
| Rare | StarPiece | June 15th | December 15th | Fine08 | Star Fragments |
| Rare | SeaShell | August 31st | February 28th | Fine09 | Summer Shells |
| Rare | Maple | November 25th | May 25th | Fine00 | Maple Leaves |
| Rare | Mushroom | November 30th | May 31st | Fine00 | Mushrooms |
* this island has a date of August 1st (NH)/February 1st (SH) in KappeiTourInfoParam.bcsv, but dates are not checked during island selection for normal islands, and OneRoom is specifically singled out as a special case in code where game time should be used instead of the date in the BCSV – for some purposes. Notably, bug and fish spawn follow game time, while weather follows the island date.
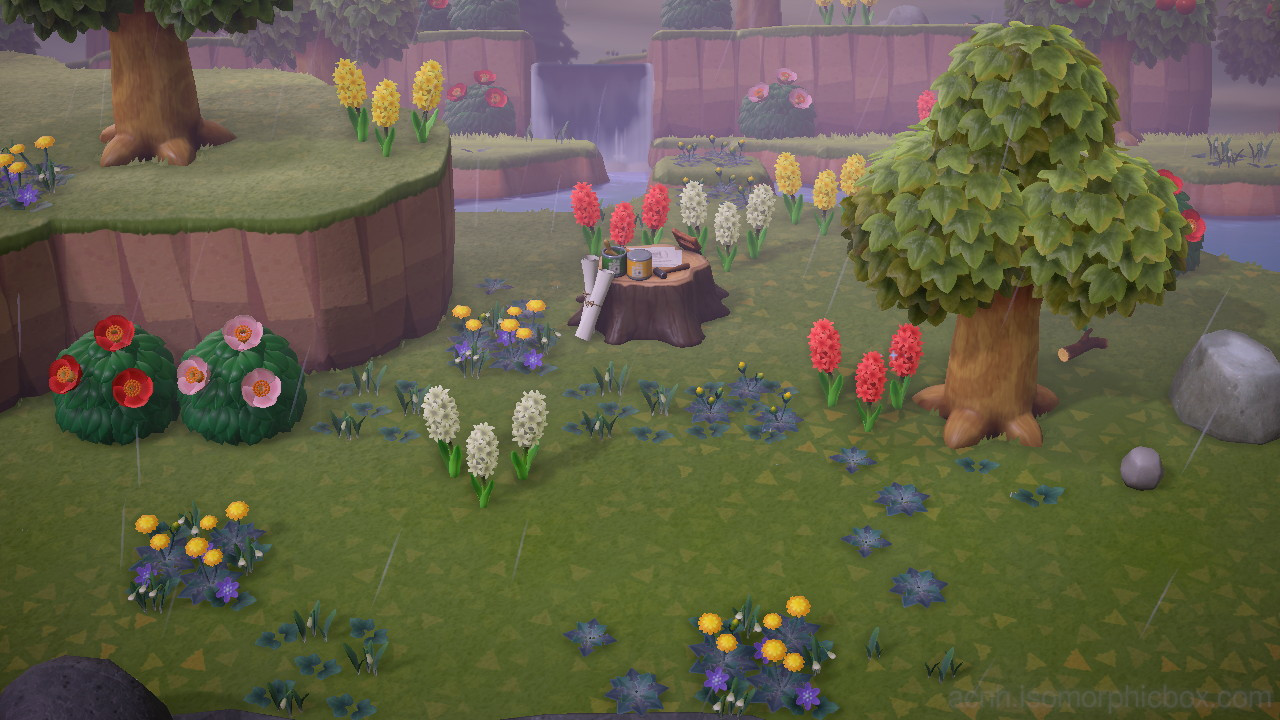
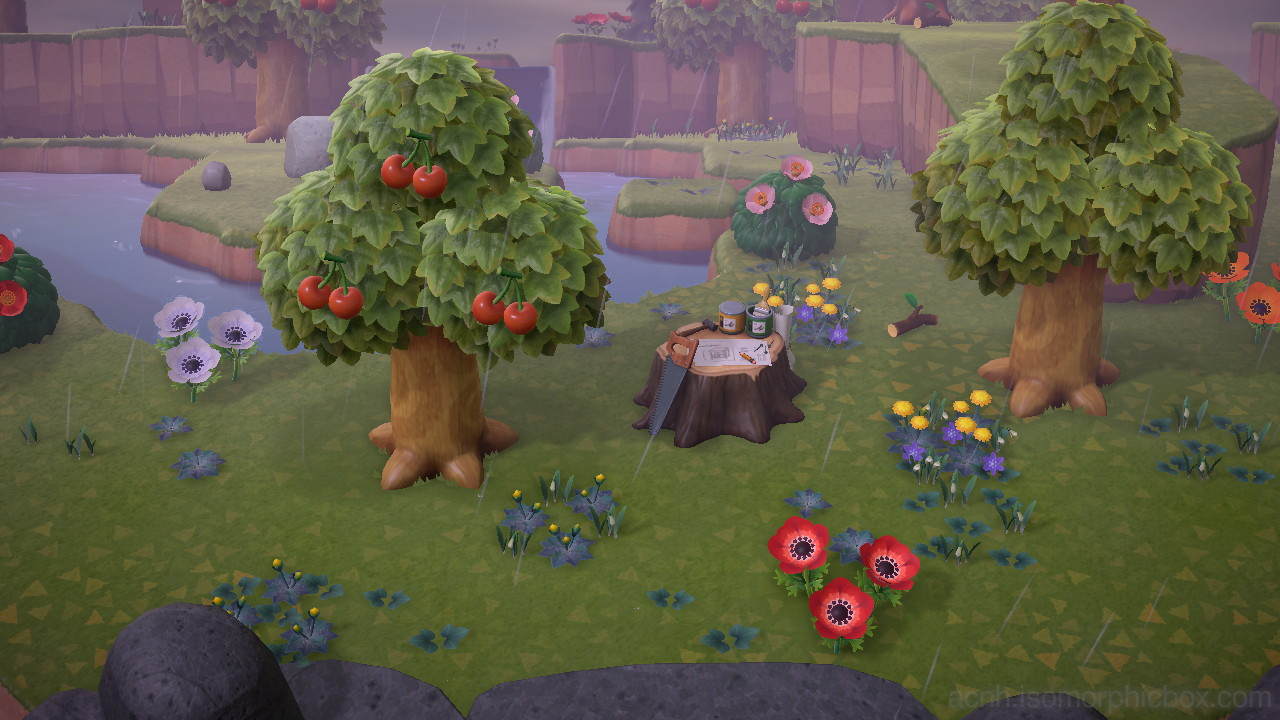
All Islands
All islands have a single gyroid fragment buried on them (which becomes clay if you have a bad belongings fortune).
Most islands will have fruit trees; these will always be of your native fruit.
Flowers on these islands are randomly picked out of the flowers that are in season (on the date of the island, or game time if not set), which are not your native or sister flowers.
Unlike NMT islands, trees do not have anything in them (no coins, wasps, or furniture).
Fish and bug spawns use your game time (of when you first entered the island) and either your game date (normal islands) or the date of the island (rare islands). For example, if your game is set to March 22, 3:00 PM in the Northern Hemisphere, and
- you land on a normal glowing moss island (OneRoom) => all spawns will be those of 3:00 PM, March, until you leave the island.
- you land on a rare spring bamboo island (SpringBamboo) => all spawns will be those of 3:00 PM, May, until you leave the island.
“Money Tree Island”
This is not a type of island. Some islands have a chance of spawning money trees instead of fruit trees.
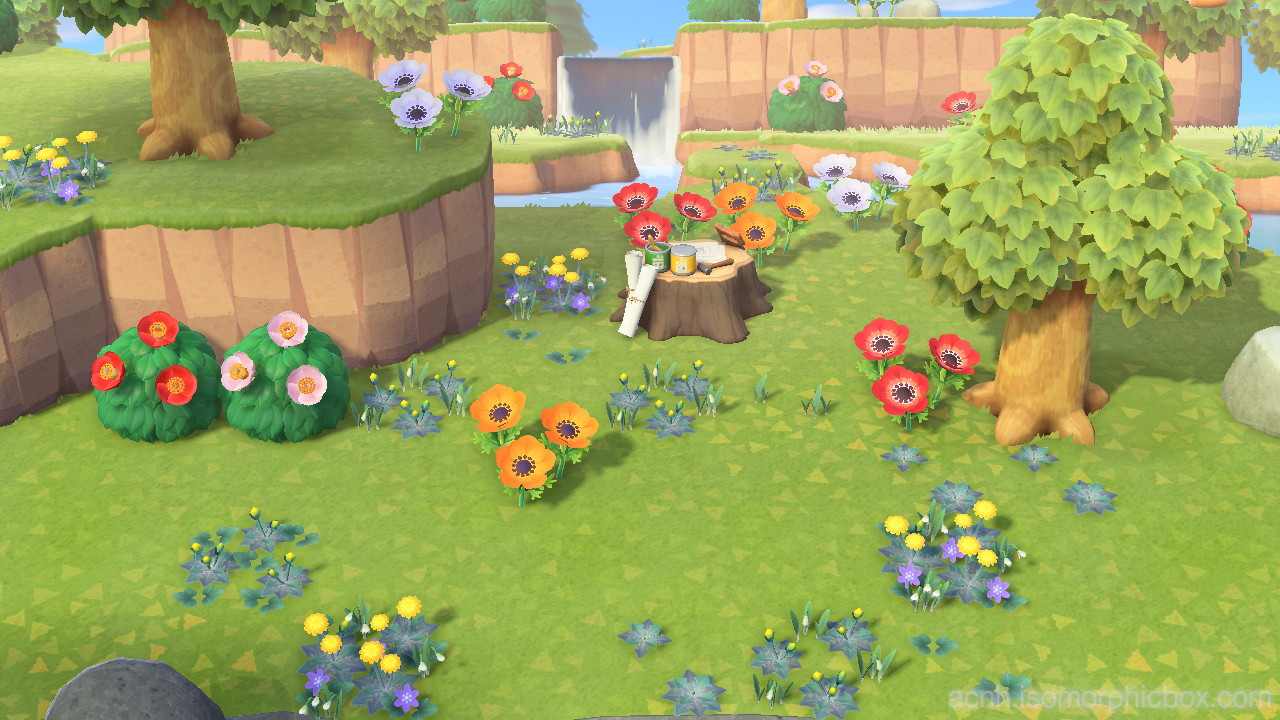
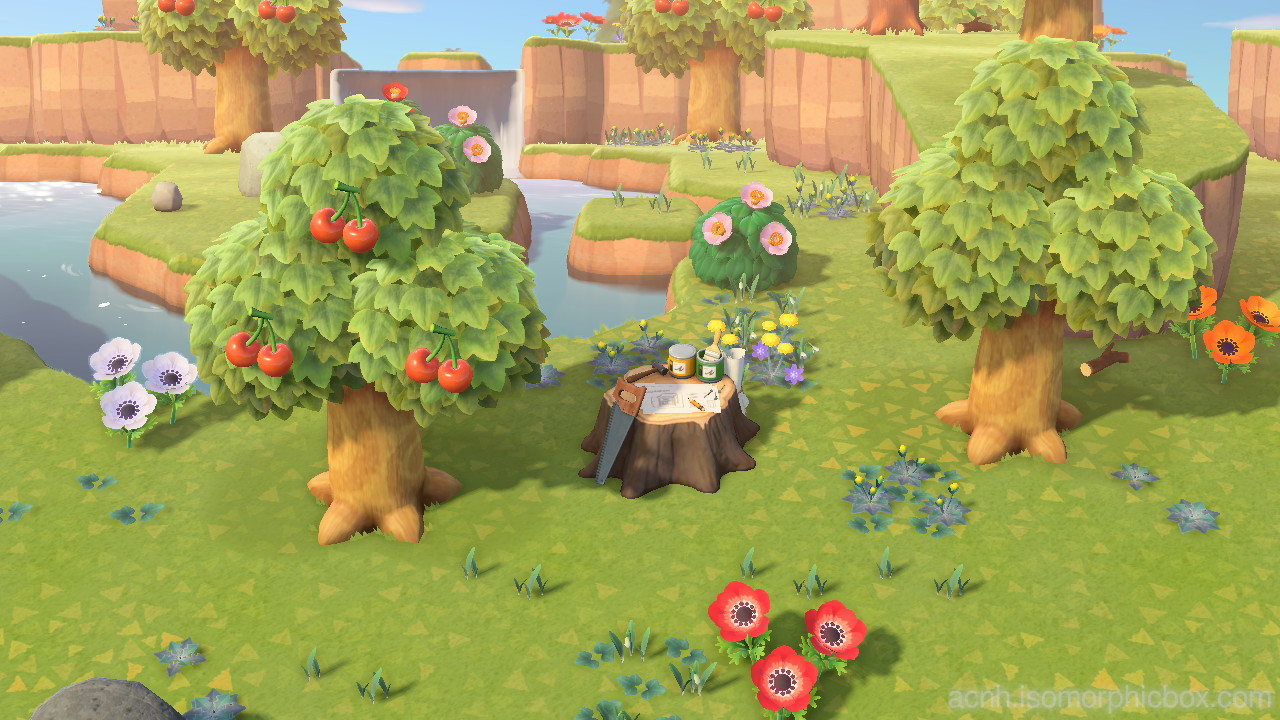
Generic Island (Haniwa)
This island is fixed on the Fine00 weather pattern and will be clear or sunny depending on game time.
There is a 5% chance of having 1000 bell money trees instead of fruit trees.
There is a 2% chance of having all rocks become money rocks and 29.4% chance of having one rock be a money rock.
There will be up to 5 tree branches on the ground.
Bug/Fish: same as your island
Island 30 (Haniwa)
Island 31 (Haniwa)
Island 32 (Haniwa)


Island 33 (Haniwa)
Island 34 (Haniwa)
Island 35 (Haniwa)
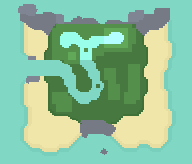
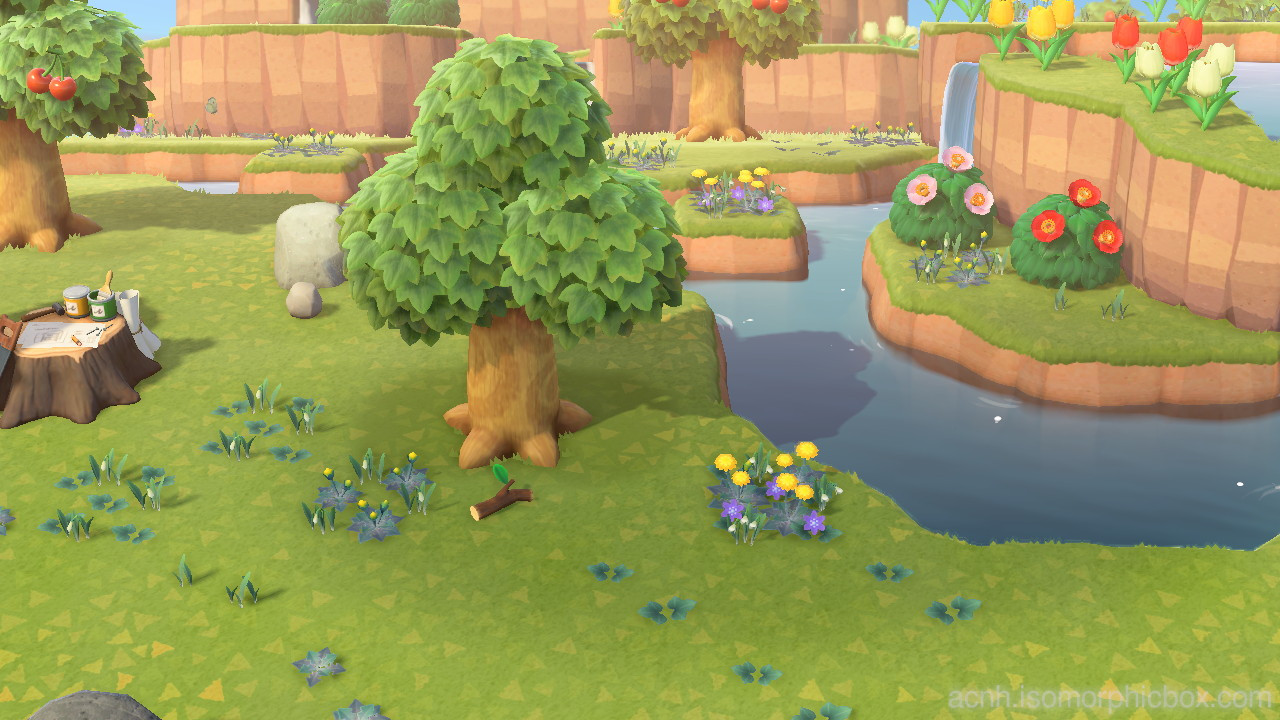
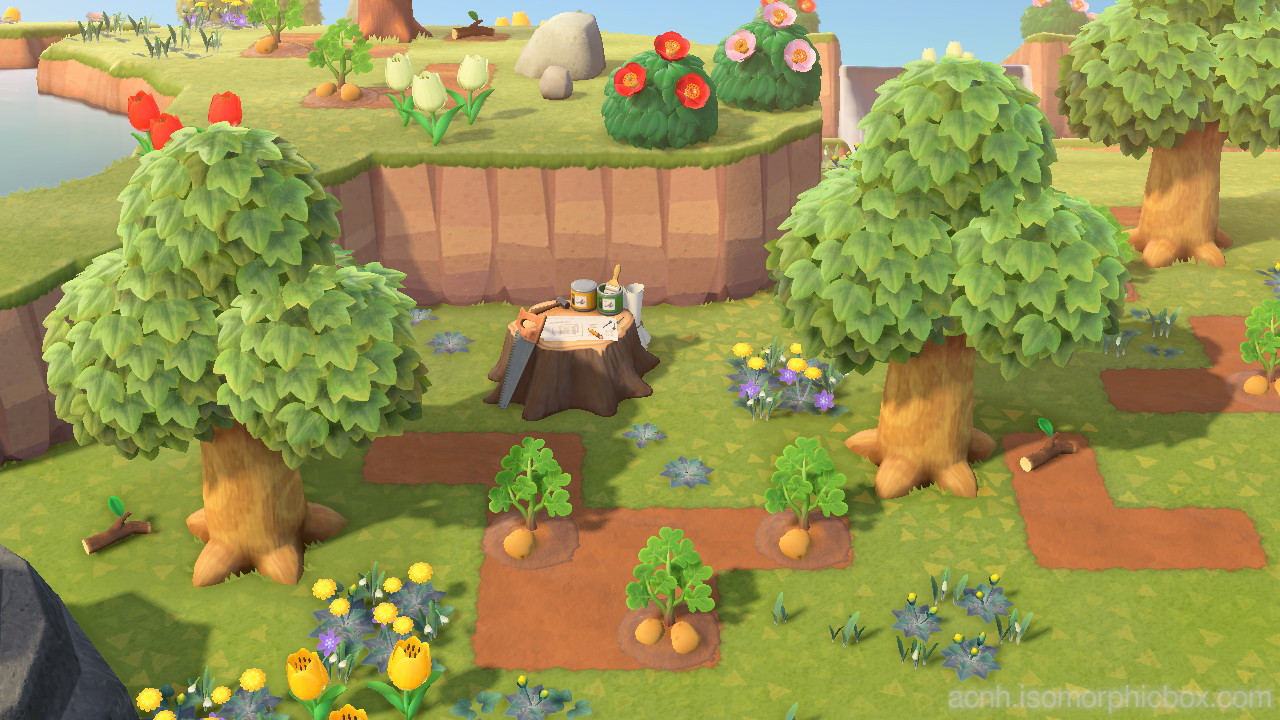
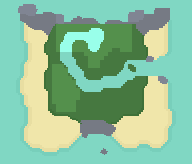
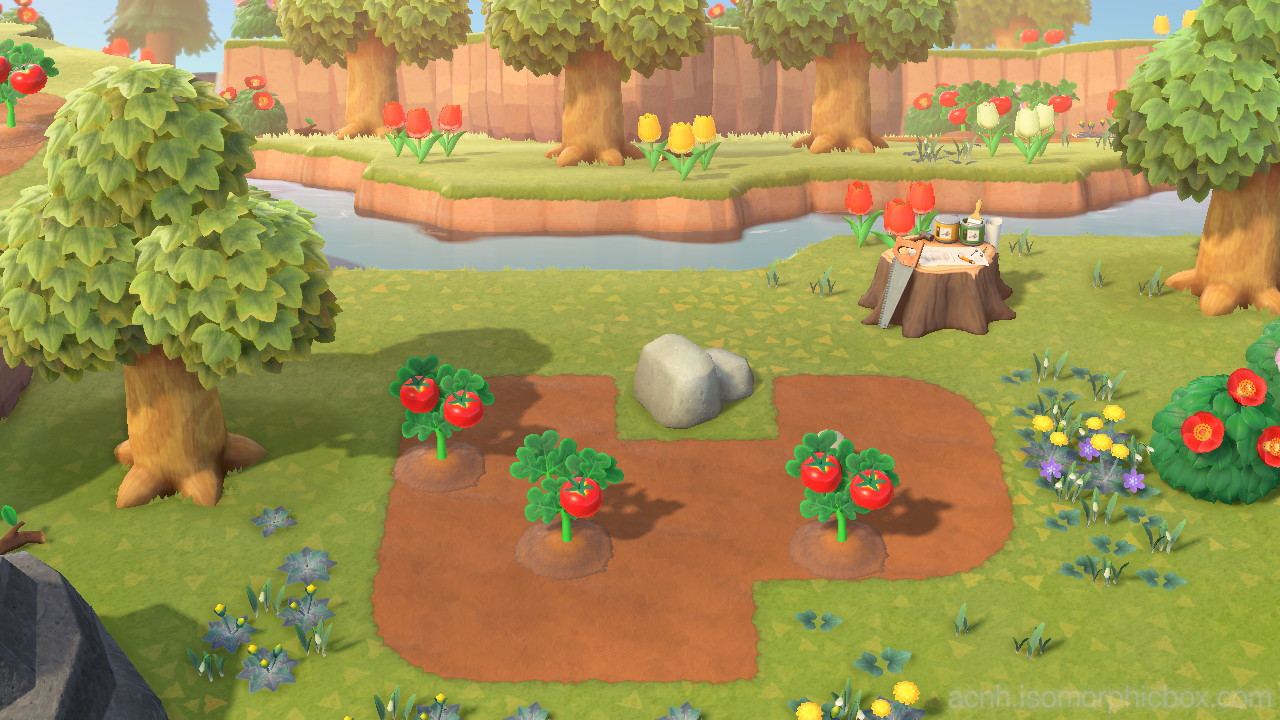
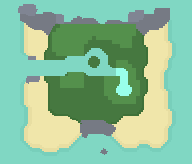
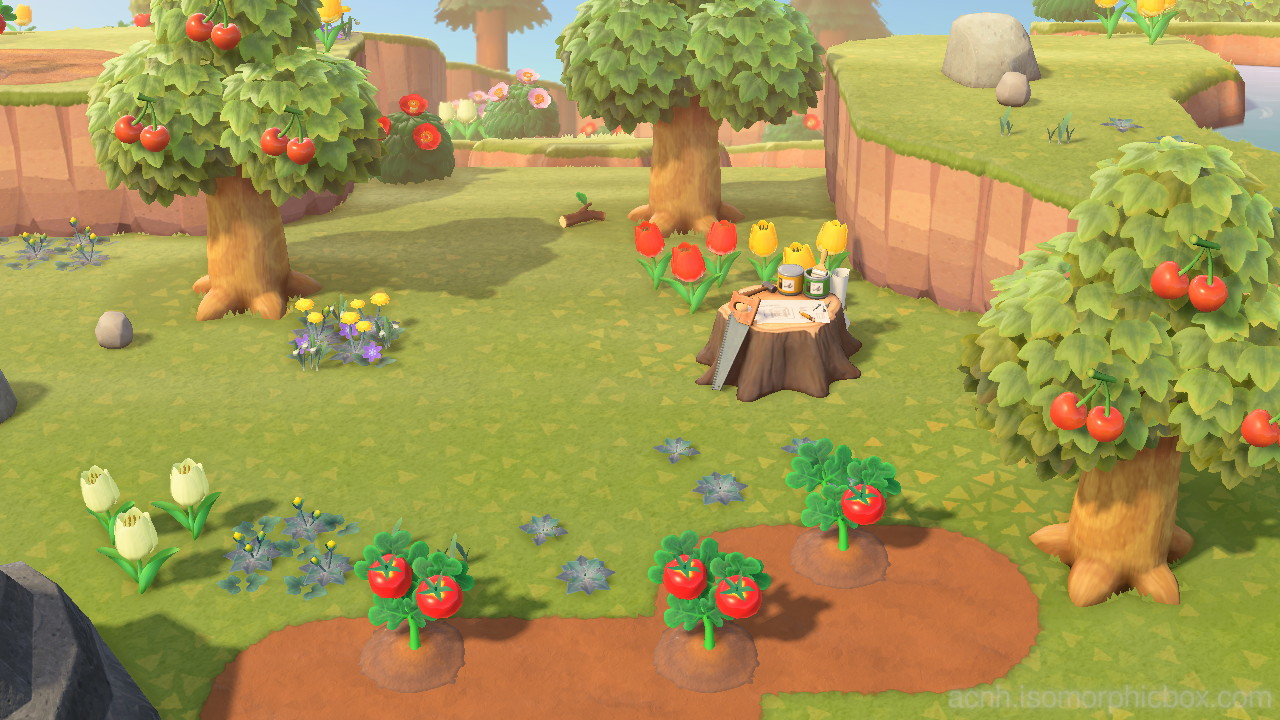
Vegetable Island (Vegetable)
This island is fixed on the Fine00 weather pattern and will be clear or sunny depending on game time.
There is a 5% chance of having 1000 bell money trees instead of fruit trees.
There is a 2% chance of having all rocks become money rocks and 29.4% chance of having one rock be a money rock.
There will be up to 5 tree branches on the ground.
There will be vegetable plants on this island; the type of vegetable is picked uniformly at random from the list of 6 vegetables in the game.
The number of vegetables present on each plant is fixed for each island.
Bug/Fish: same as your island
Island 36 (Vegetable)
Island 37 (Vegetable)
Island 38 (Vegetable)
Island 39 (Vegetable)
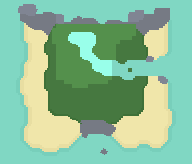
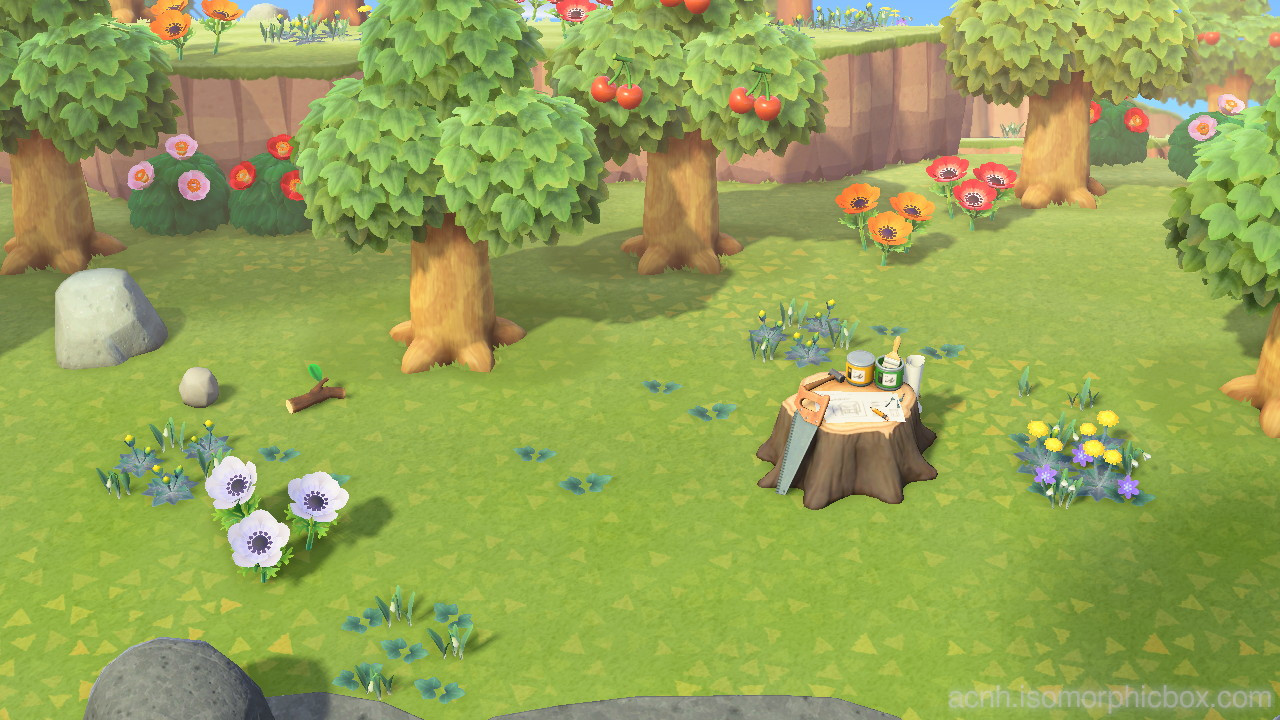
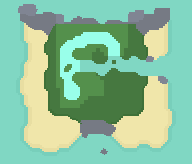
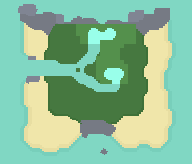
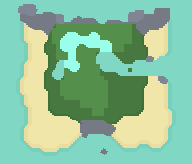
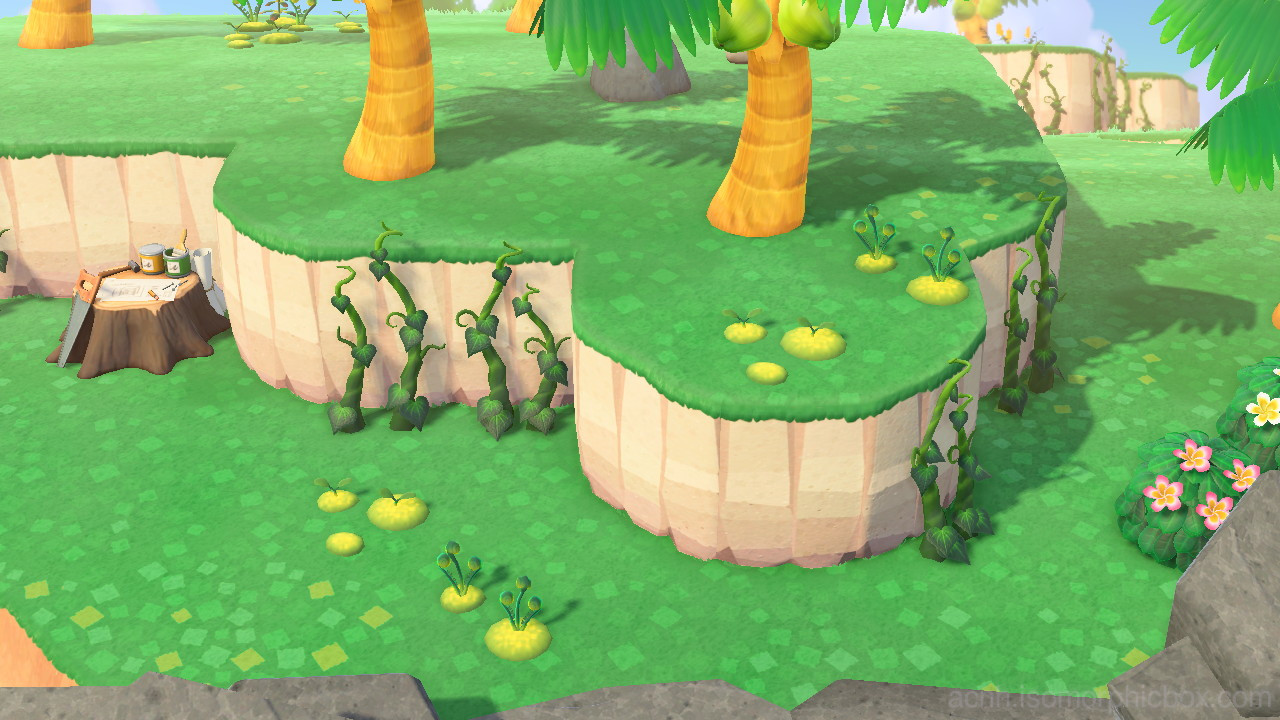
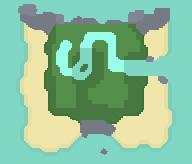
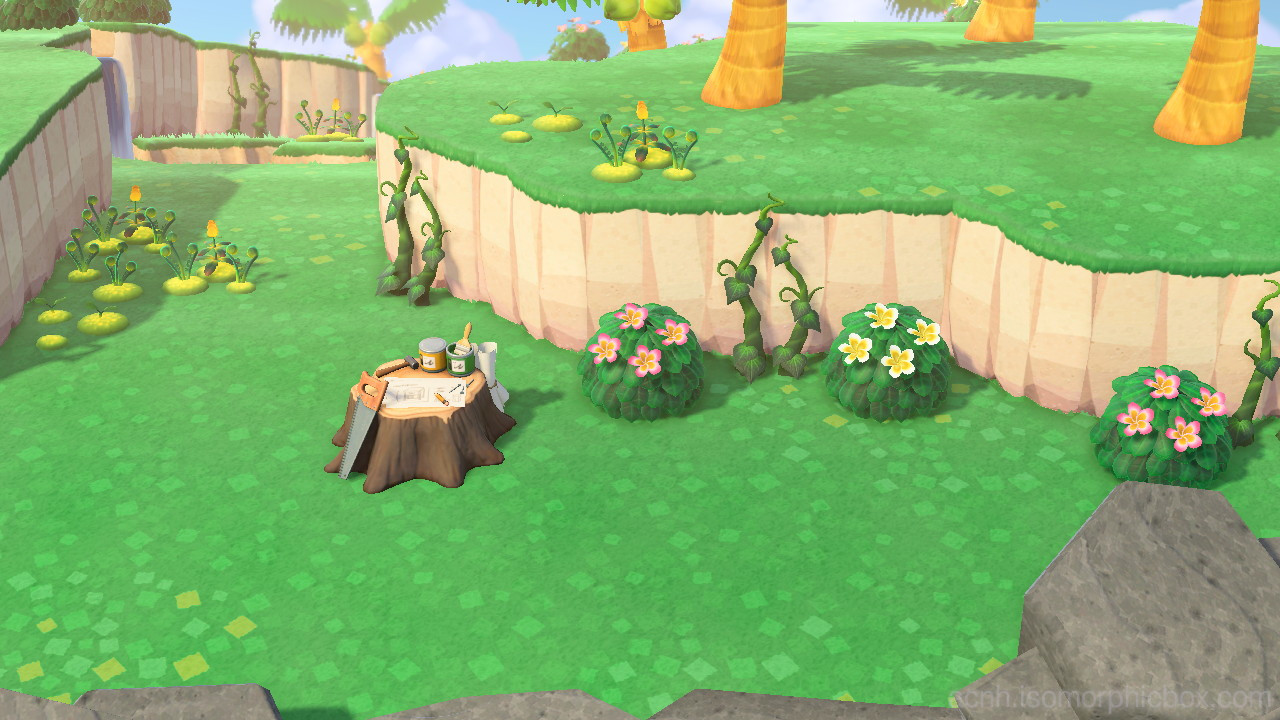
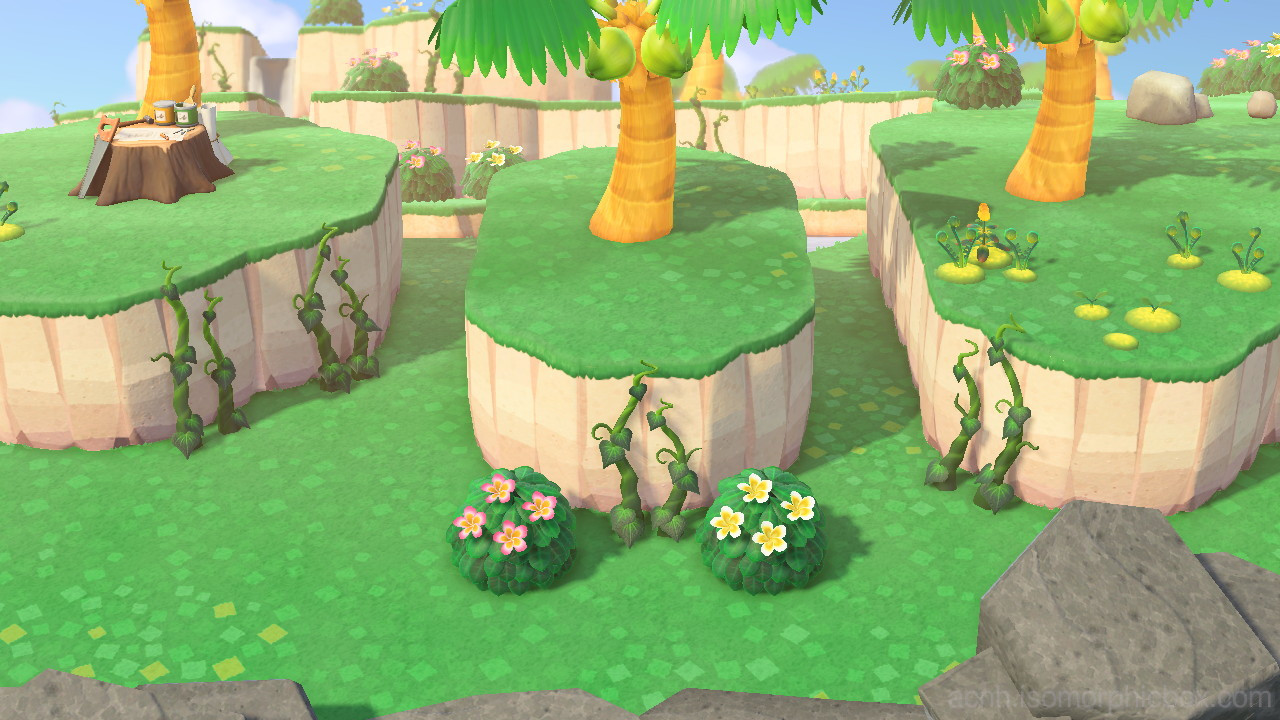
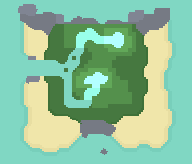
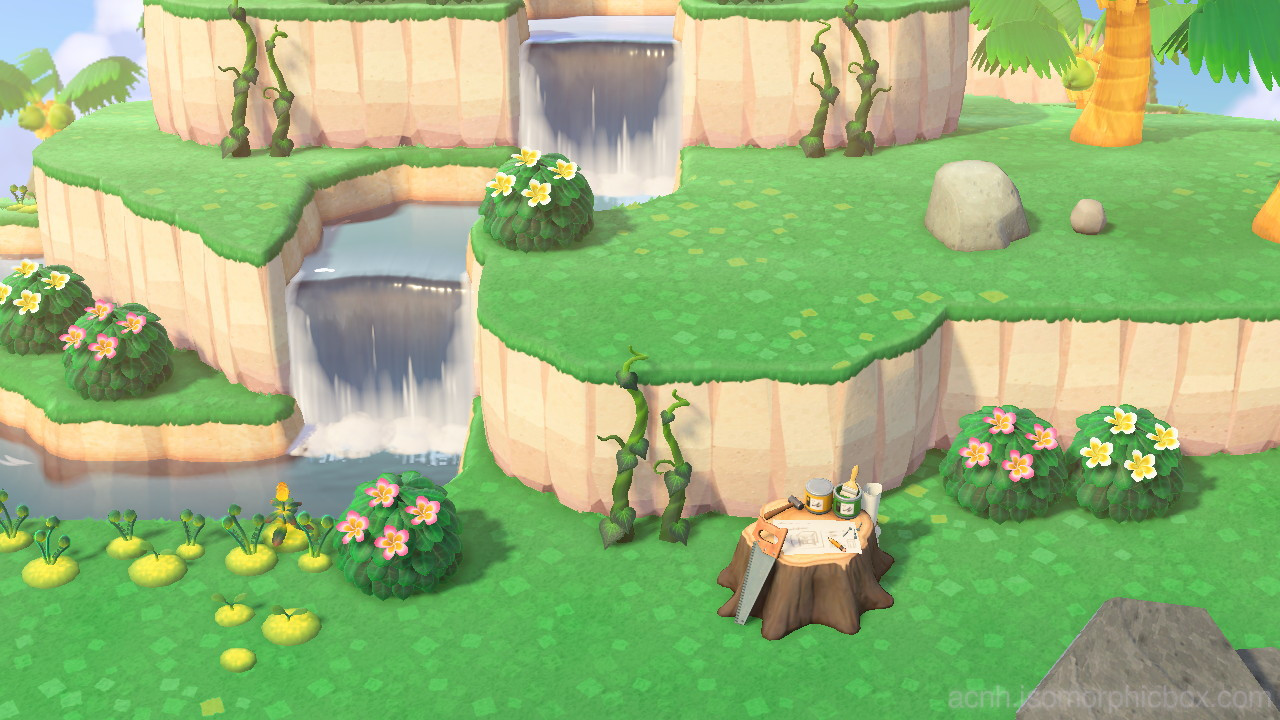
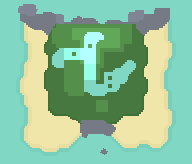
Glowing Moss Island (OneRoom)
This island is fixed on the Fine00 weather pattern and will be clear or sunny depending on game time.
There is a 5% chance of having 1000 bell money trees instead of fruit trees.
There is a 2% chance of having all rocks become money rocks and 29.4% chance of having one rock be a money rock.
There will be up to 5 tree branches on the ground.
Plumeria bushes replace Azalea bushes.
There are vines and glowing moss on these islands.
Bug/Fish: same as your island
Island 40 (OneRoom)
Island 41 (OneRoom)
Island 42 (OneRoom)

Island 43 (OneRoom)
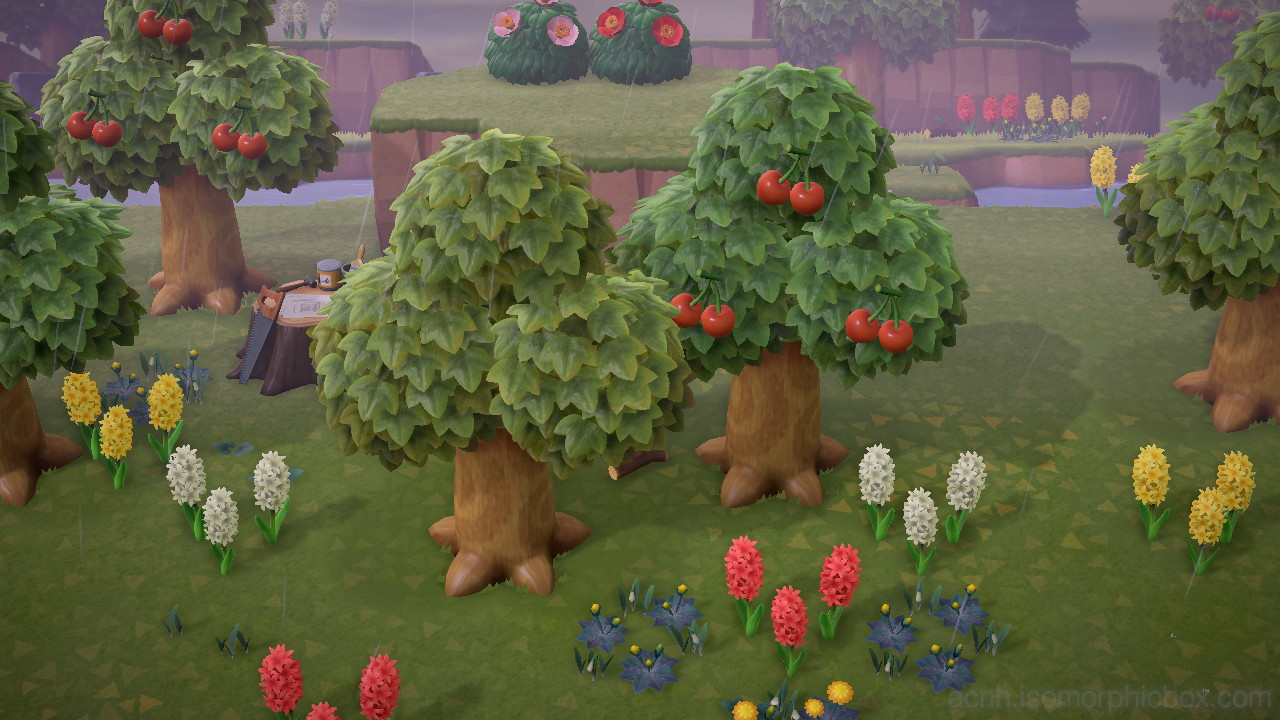
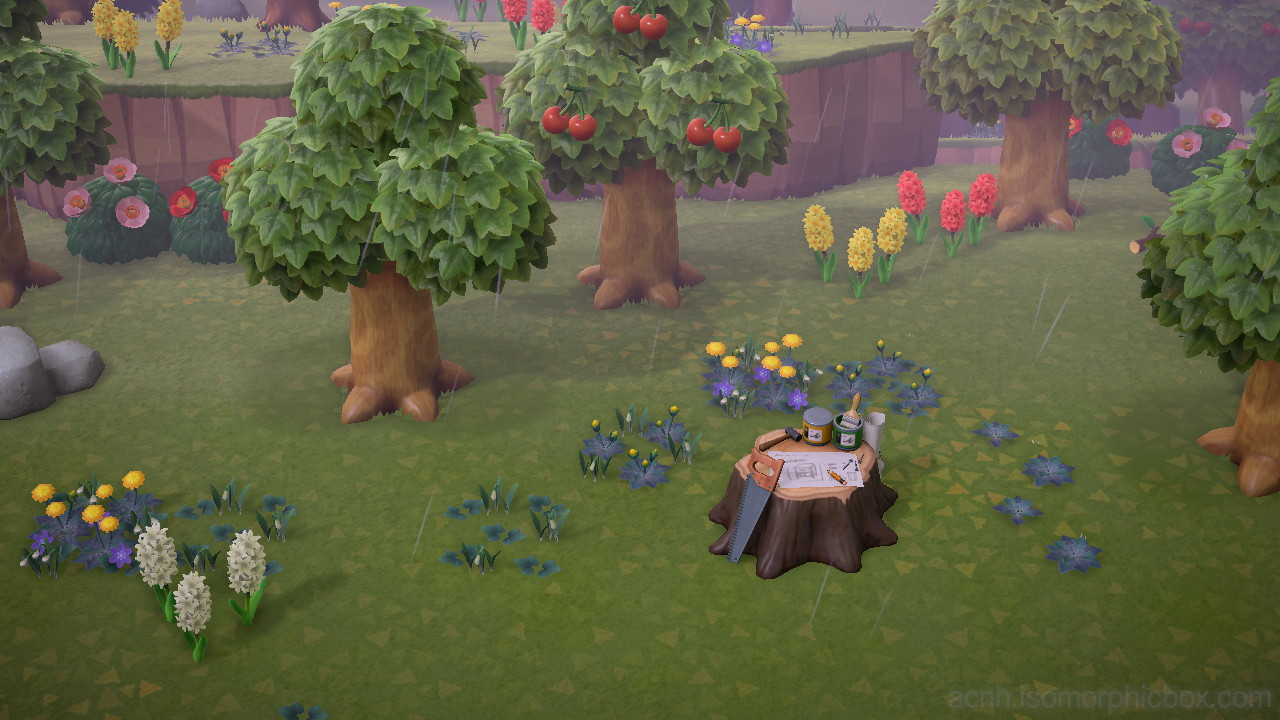
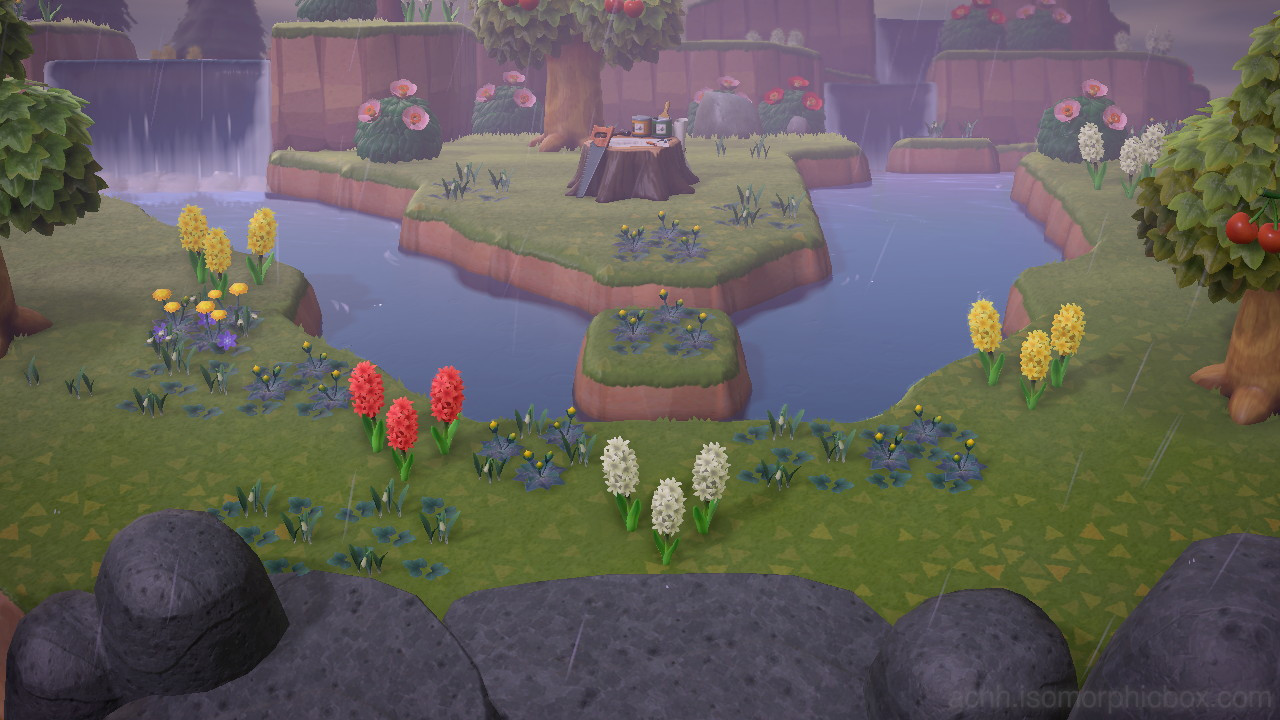
Gyroid Island (RareHaniwa)
This island is fixed on the Rain04 weather pattern and will be raining or snowing depending on your game date.
One rock will be a money rock.
There will be up to 5 tree branches on the ground, and a full-grown gyroid buried on the island in addition to the usual gyroid fragment. This gyroid cannot be a Brewstoid, and is picked the same way as described in the gyroids section.
Bug/Fish: same as your island
Island 30 (RareHaniwa)
Island 31 (RareHaniwa)
Island 32 (RareHaniwa)
Island 33 (RareHaniwa)
Island 34 (RareHaniwa)

Island 35 (RareHaniwa)
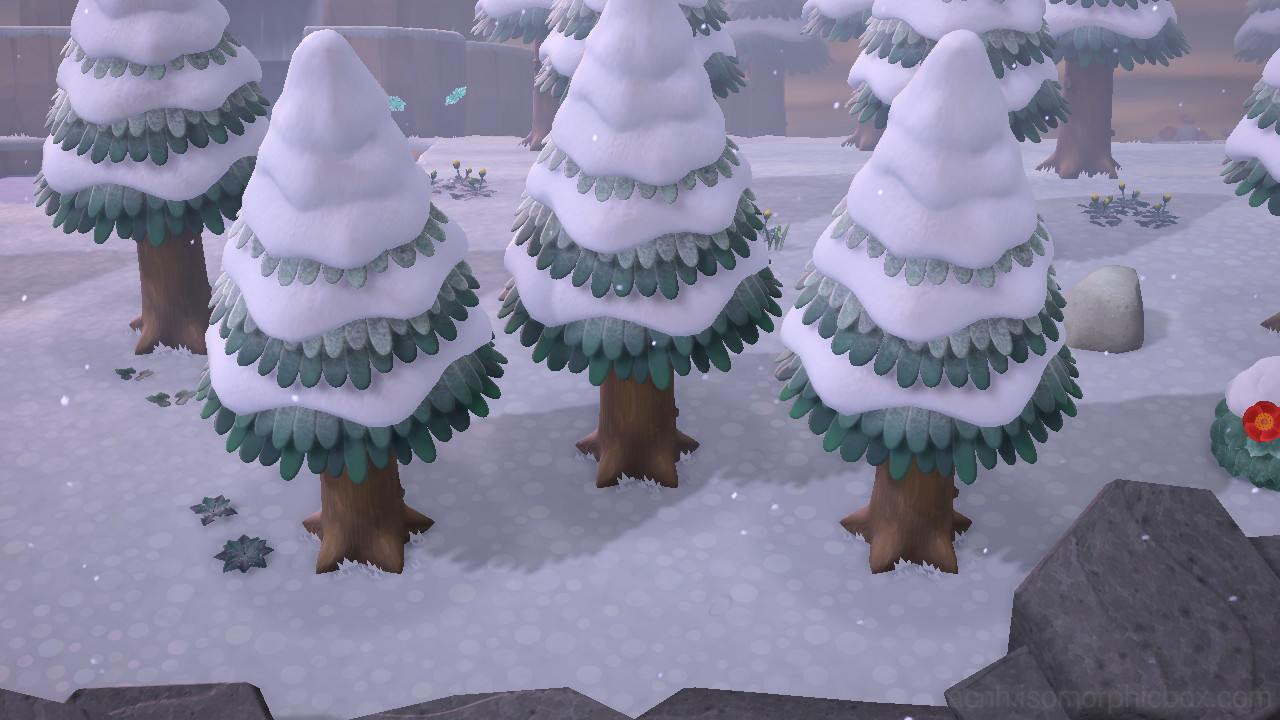
Snowing Island (SnowCrystal)
This island is fixed on the Rain06 pattern on February 24th (NH)/August 24th (SH), and will be snowing. There will be snowflakes floating in the air to catch.
Rocks: normal (2x), money (1x)
Trees: coconut (4x), cedar (17x)
Bush: camellia (13x)
Ground Items: tree branches (5x), stone (3x)
Buried Items: gyroid fragment (1x)
DIY: SeasonSnowCrystal (seasonal snowflake DIYs - does not include Snowboy DIYs)
Island 50 (SnowCrystal)
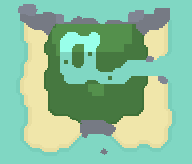
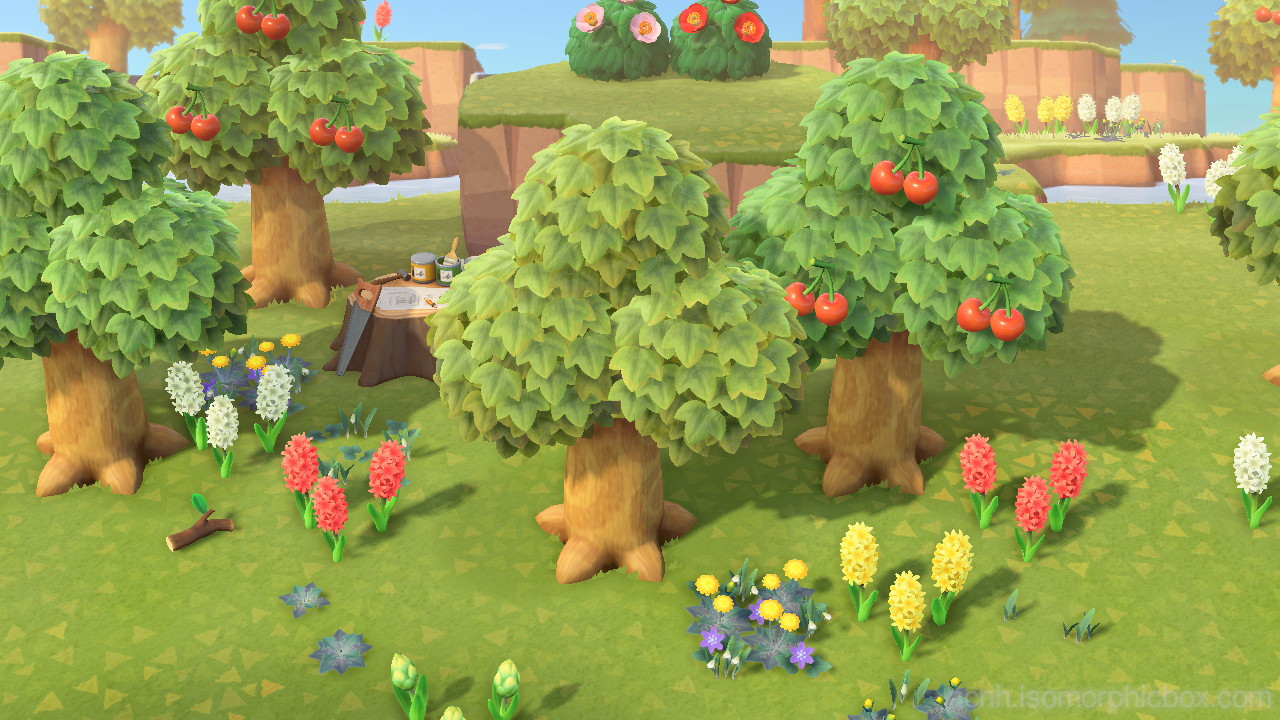
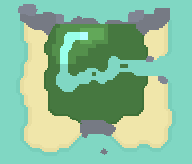
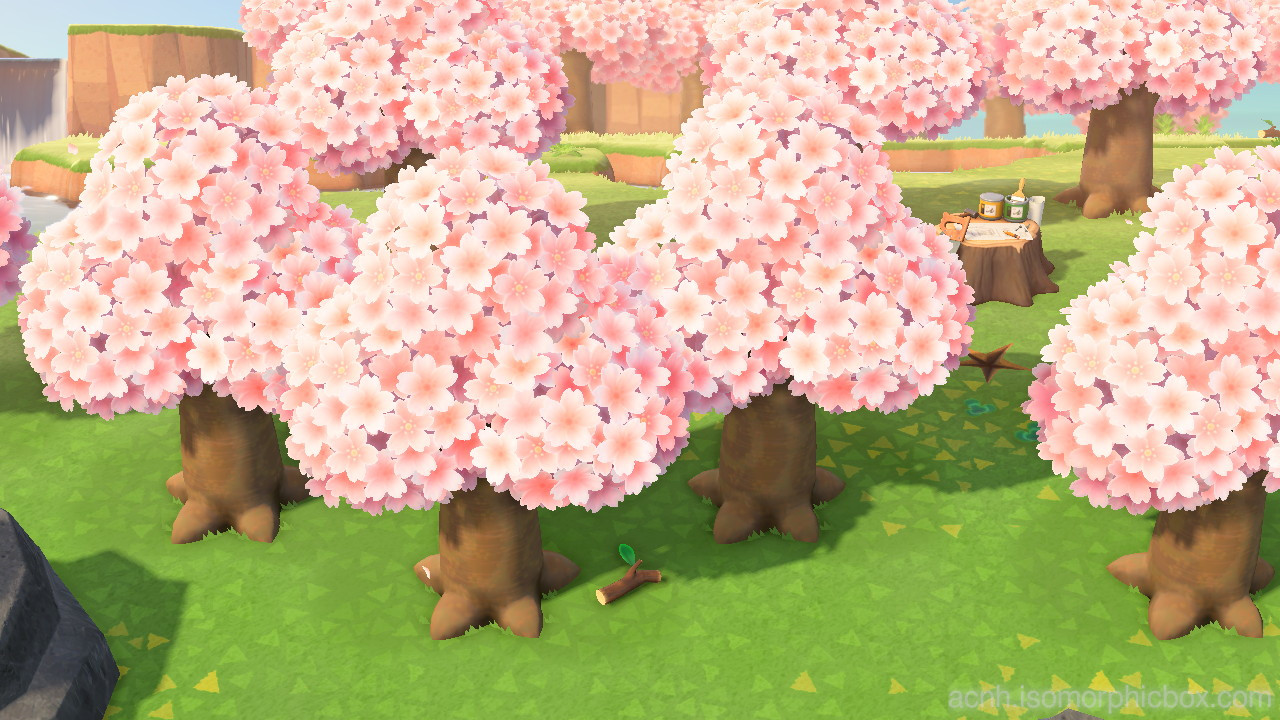
Cherry Blossom Island (Sakura)
This island is fixed on the Fine00 pattern on April 10th (NH)/October 10th (SH), and will be clear or sunny depending on game time. There will be cherry blossom petals floating in the air to catch.
Rocks: normal (2x), money (1x)
Trees: coconut (6x), hardwood (18x)
Bush: none
Ground Items: tree branches (5x), stone (3x)
Buried Items: gyroid fragment (1x)
DIY: SeasonSakura (cherry blossom DIYs)
Island 45 (Sakura)
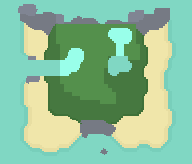
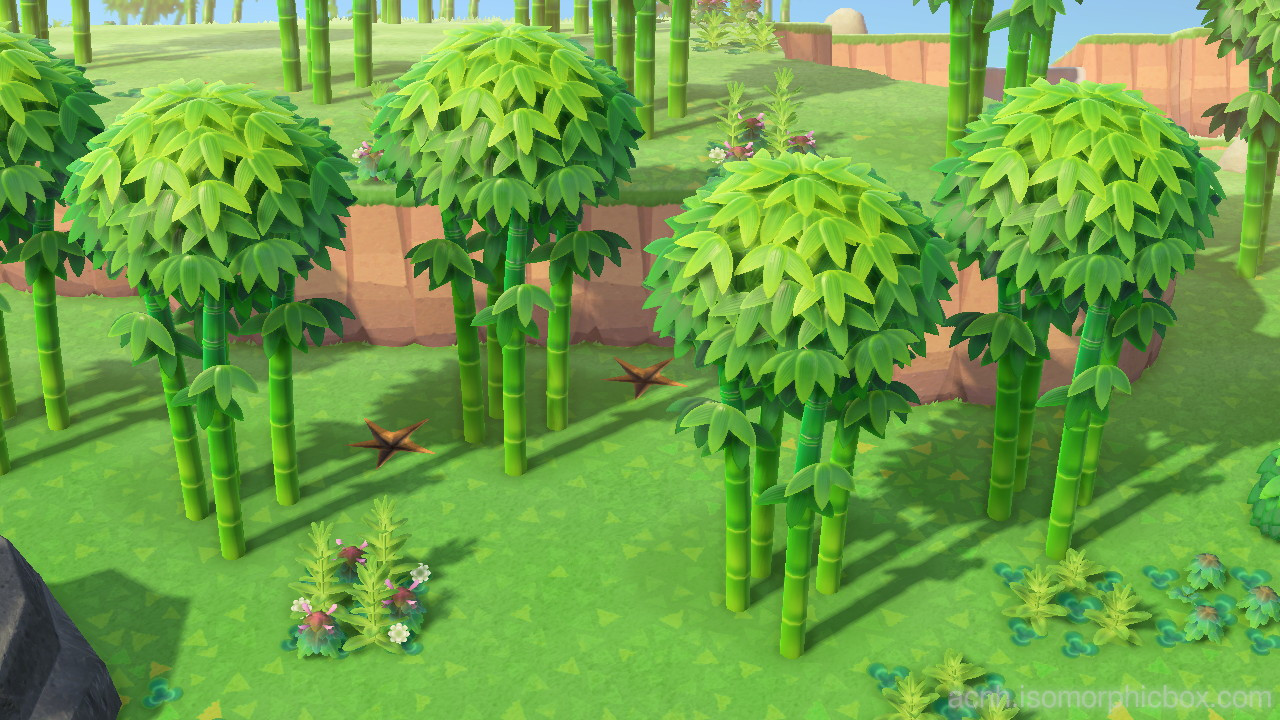
Spring Bamboo Island (SpringBamboo)
This island is fixed on the Fine00 pattern on May 31st (NH)/November 30th (SH), and will be clear or sunny depending on game time. The bamboo trees may drop Spring Bamboo at normal rates when hit.
Rocks: normal (2x), money (1x)
Trees: coconut (4x), bamboo (23x)
Bush: azalea (6x)
Ground Items: stone (3x)
Buried Items: bamboo shoots (5x), gyroid fragment (1x)
DIY: SeasonSpringBamboo (spring bamboo DIYs)
Bug/Fish: Normal, May/November (Game Time)
Island 46 (SpringBamboo)
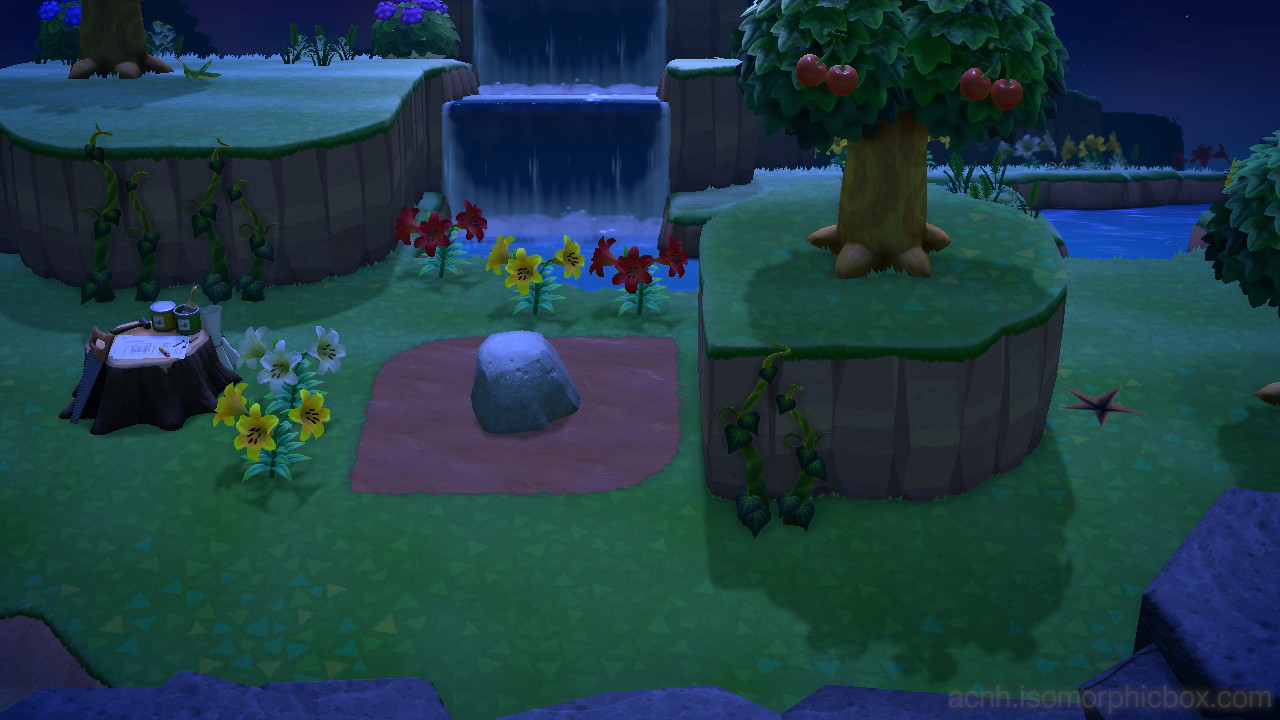
Star Fragment Island (StarPiece)
This island is fixed on the Fine08 pattern on June 15th (NH)/December 15th (SH), and will be always be nighttime* when you arrive, with shooting stars in the sky.
*bug and fish spawns still follow your island time with date set to June 15th/December 15th.
Shooting stars are calculated using your island’s weather seed for the game day (starting at 5:00 AM and ending at 4:59 AM) of June 15th (NH)/December 15th (SH) of the current year of game time, with time starting at 0:00:00 (midnight) the moment you get off Kapp’n’s boat and arrive on the island.
This means that the timings for stars for everyone on your island will be the same for the whole year. Like your own island, stars only happen between the hours of 7:00 PM and 4:00 AM; as you arrive at midnight, this means that shooting stars will stop, and dawn will break, 4 hours after you arrive.
If you remain on the island past the island time of 4:59 AM, the day simply starts over again (going from June 16th 4:59 AM -> June 15th 5:00 AM).
The weather pattern (Fine08) indicates heavier showers than the usual heavy showers you receive on your own island (Fine00); specifically, there is an 80% chance instead of 50% chance of there being stars for any given minute. Like normal heavy showers, if there are stars in any given minute, there is a 50% chance of having 8 stars within the minute, and 50% chance of having 5 stars.
Click here check exactly when shooting stars will fall.
All rocks will drop star fragments according to the following distribution:
| Item | Probability |
|---|---|
| star fragment | 14% |
| large star fragment | 2% |
| capricorn fragment | 7% |
| aquarius fragment | 7% |
| pisces fragment | 7% |
| aries fragment | 7% |
| taurus fragment | 7% |
| gemini fragment | 7% |
| cancer fragment | 7% |
| leo fragment | 7% |
| virgo fragment | 7% |
| libra fragment | 7% |
| scorpio fragment | 7% |
| sagittarius fragment | 7% |
Rocks: star fragment (2x)
Trees: coconut (8x), native fruit (4x), hardwood (3x)
Bush: hydrangea (8x)
Ground Items: tree branches (3x), star fragments (3x), large star fragment (1x)
Buried Items: gyroid fragment (1x)
DIY: Ows01 or Ows02 (Celeste’s normal DIYs and zodiac DIYs)
Bug/Fish: Normal, June/December (Game Time)
Island 44 (StarPiece)
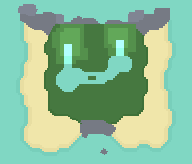
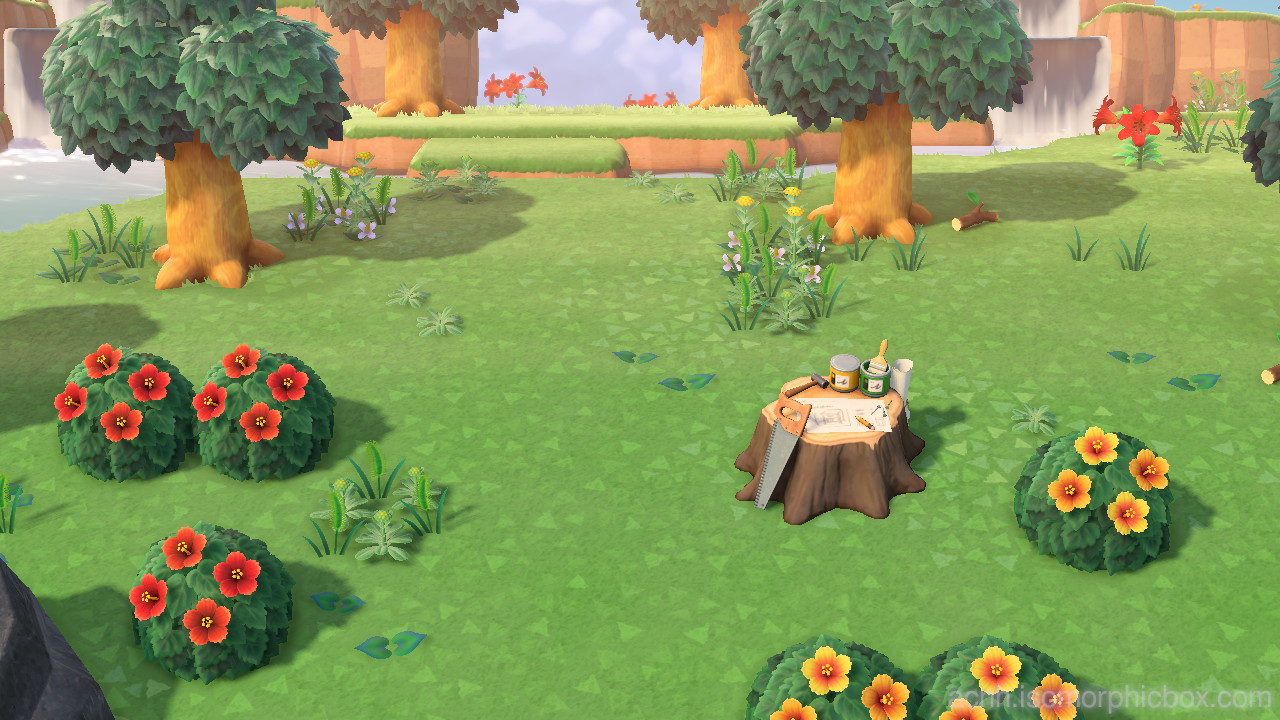
Summer Shell Island (SeaShell)
This island is fixed on the Fine09 pattern on August 31st (NH)/February 28th (SH), and will always be clear.
Rocks: normal (2x), money (1x)
Trees: coconut (10x), native fruit (2x), hardwood (8x)
Bush: hibiscus (25x)
Ground Items: tree branches (5x), stone (3x), summer shells (7x)
Buried Items: gyroid fragment (1x)
DIY: SeasonSummerShell (summer shell DIYs)
Bug/Fish: Normal, August/February (Game Time)
Island 47 (SeaShell)
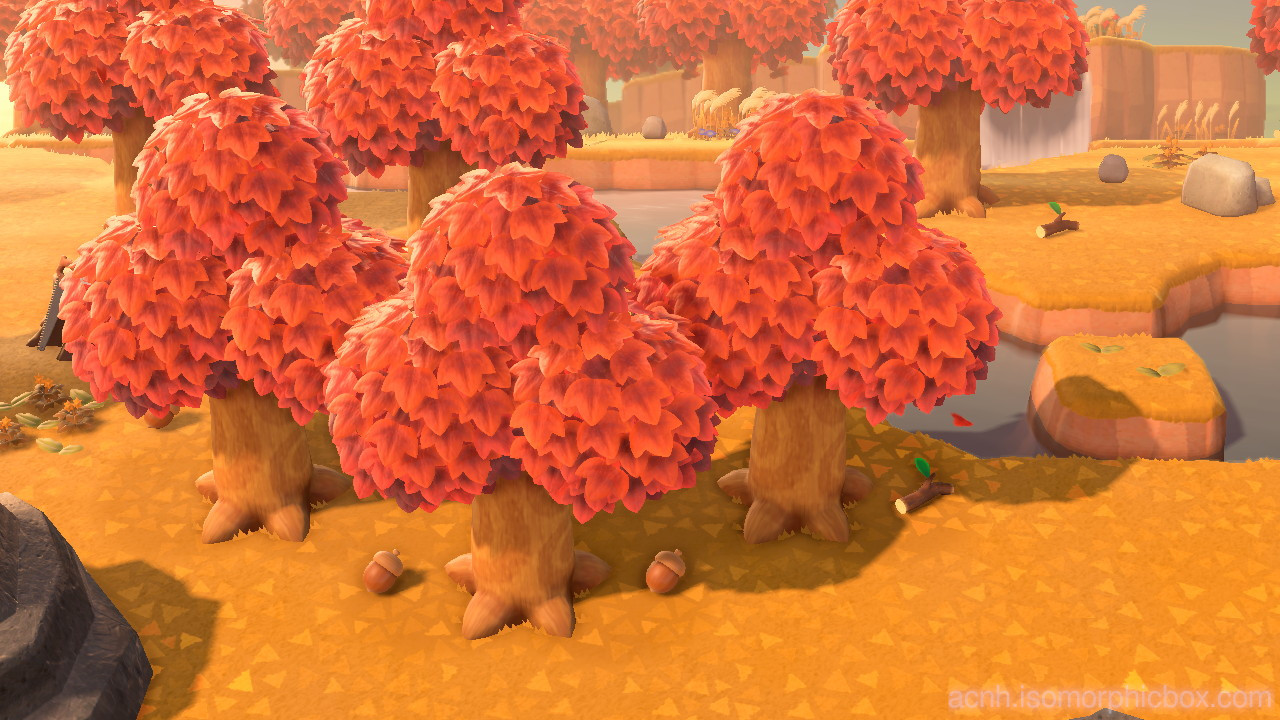
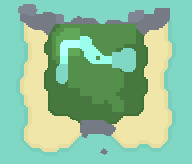
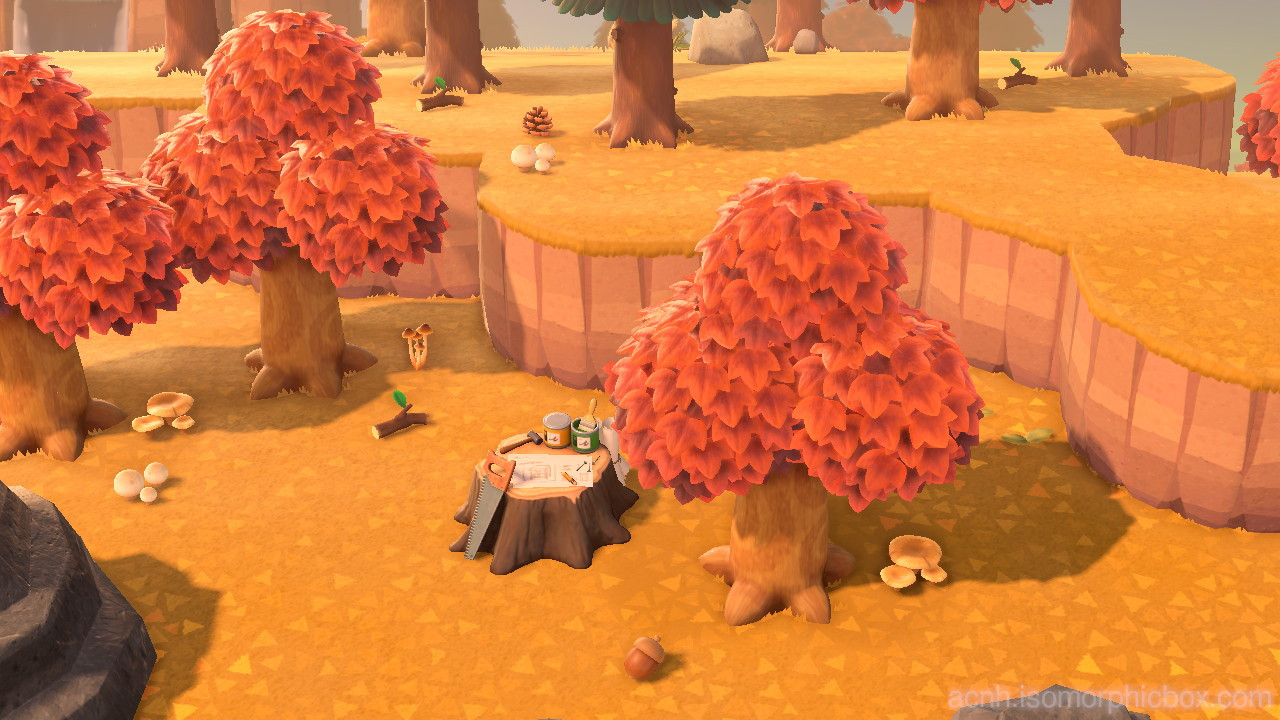
Maple Leaf Island (Maple)
This island is fixed on the Fine00 pattern on November 25th (NH)/May 25th (SH), and will be clear or sunny depending on game time. There will be maple leaves floating in the air to catch, and acorns may be shaken out of trees at the normal rate.
Rocks: normal (2x), money (1x)
Trees: coconut (4x), native fruit (4x), hardwood (15x)
Bush: holly (10x)
Ground Items: tree branches (4x), stone (3x), acorns (6x)
Buried Items: gyroid fragment (1x)
DIY: SeasonMomiji (maple leaf DIYs)
Island 49 (Maple)
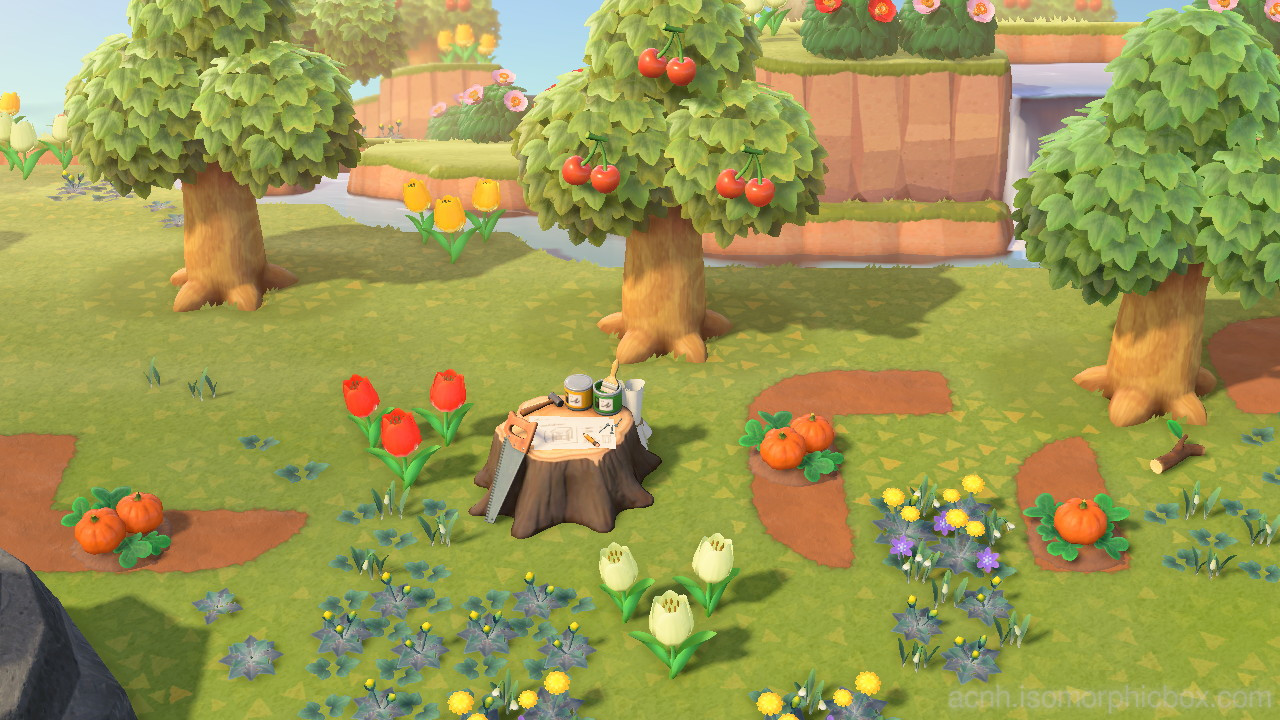
Mushroom Island (Mushroom)
This island is fixed on the Fine00 pattern on November 30th (NH)/May 31st (SH), and will be clear or sunny depending on game time. Acorns and pinecones may be shaken out of trees at the normal rate.
Rocks: normal (2x), money (1x)
Trees: coconut (6x), native fruit (5x), hardwood (5x), cedar (10x)
Bush: holly (7x)
Ground Items: tree branches (3x), stone (3x), plain mushroom (2x), round mushroom (2x), thin mushroom (2x), random mushrooms (5x), acorns (0-5x), pinecones (2-5x)
Buried Items: gyroid fragment (1x)
DIY: SeasonMushroom (mushroom DIYs)
Bug/Fish: Normal, November/May (Game Time)
There are 6 mushrooms in fixed locations that always appear (2 of each of plain/round/thin). The random mushrooms are generated like those on your island (with distributions that vary depending on island evaluation).
Each of the 15 hardwood/cedar trees can have one of the following under it: tree branch, mushroom, acorn (if hardwood), or pinecone (if cedar), in addition to the 6 fixed mushrooms, generated in the following order:
- 3 random trees are assigned tree branches
- 5 random trees are assigned random mushrooms
- up to 5 hardwood trees are assigned acorns (less if there are less than 5 unassigned hardwood trees at this point)
- up to 5 cedar trees are assigned pinecones (less if there are less than 5 unassigned cedar trees at this point)
Island 48 (Mushroom)
Veggie Basket
You must buy vegetables from Leif on three different days. The DIY for veggie basket (item ID 13608) should be received the next day.
Plumeria
Plumeria is in bloom when either Hydrangea or Hibiscus is in bloom.
| Hemisphere | Dates |
|---|---|
| Northern | June 1 - Sept 20 |
| Southern | Dec 1 - Mar 20 |
Friendship
Chance for villager photos and thresholds for return gifts have not changed. The types of items villagers may return as a gift have not changed.
Wisp
Thanks to Stoney#9215 for pointing these changes out.
Wisp rewards have changed significantly. Min Value/Max Value refer to the item’s buy price (Price column in ItemParam.bcsv).
Category
The rate of each category depends on whether you have a tent or a house.
| Category | Tent Rates | House Rates |
|---|---|---|
| furniture | 75% | 40% -> 75% |
| wallpaper | 0% | 24% -> 5% |
| flooring | 0% | 24% -> 5% |
| clothing | 25% | 12% -> 15% |
Items with ItemFrom in (ShopOneRoomDefault, ShopOneRoom, ShopOneRoomMiscGoods, ShopOneRoomMiscGoodsDefault) are now also in Wisp’s pool of furniture; all items with ItemLayout = Ceiling are removed if you do not have the Pro Decorating License.
Item pools for wallpaper, flooring, and clothing remain unchanged.
Something I don’t have
The item is always an item that you have not cataloged yet, unless you have cataloged everything in the pool of items, in which case it picks randomly from the pool of items.
| Category | Min Value | Max Value |
|---|---|---|
| furniture | 300 -> 0 | 2999 -> 10000 |
| wallpaper | 300 -> 0 | 2499 -> 9999 |
| flooring | 300 -> 0 | 2499 -> 9999 |
| clothing | 300 -> 0 | 1999 -> 9999 |
Something expensive
Nooks’ Cranny Not Upgraded
| Category | Min Value | Max Value |
|---|---|---|
| furniture | 10/2000 -> 3500 | 14999 -> 15000 |
| wallpaper | 10/1850 -> 2000 | 2999/9999 -> 9999 |
| flooring | 10/1850 -> 2000 | 2999/9999 -> 9999 |
| clothing | 10/1800 -> 3500 | 4999/9999 -> 9999 |
Nooks’ Cranny Upgraded
| Category | Min Value | Max Value |
|---|---|---|
| furniture | 10/2000 -> 6600 | 14999 -> 100000 |
| wallpaper | 10/1850 -> 2000 | 2999/9999 -> 9999 |
| flooring | 10/1850 -> 2000 | 2999/9999 -> 9999 |
| clothing | 10/1800 -> 3500 | 4999/9999 -> 9999 |
Redd
Museum Upgrade
There is code to skip Museum Level 2 (museum with no art) if you are upgrading from Museum Level 1 (Blathers’ tent), and jump straight to Museum Level 3 (museum with art gallery unlocked). This does not appear to be a bug, as certain new flags are set to explicitly mark this behaviour.
If you already upgraded to Museum Level 2 before the 2.0.0 update, you must meet the old requirements to unlock the art gallery (60+ donations).
Boat
Redd’s art inventory algorithm has not changed for the most part (it is still 10%/30%/50%/10% chance of 1/2/3/4 fake pieces of art). As before the update, there is a 20% chance of real pieces of art being something you have not donated yet.
Redd’s furniture inventory selection has changed as follows:
- Eligible ItemSizes have increased (new ones in bold): 1.0 x 1.0, 2.0 x 1.0, 2.0 x 2.0, 1.0 x 0.5, 2.0 x 0.5, 1.5 x 1.5, 1.0 x 0.5 (wall), 0.5 x 1.0 (wall), 1.0 x 1.0 (wall), 1.0 x 1.5 (wall), 1.0 x 2.0 (wall), 2.0 x 1.0 (wall), 2.0 x 1.5 (wall)
- Ceiling items are excluded
- Eligible ItemFrom have changed for players who have upgraded Nook’s Cranny:
- before 2.0.0: ShopDefault, ShopMiscGoods, ShopLv1, ShopLv2, ShopLargeGoods
- after 2.0.0: ShopOneRoomDefault, ShopOneRoomMiscGoodsDefault, ShopOneRoomMiscGoods, ShopOneRoom (only items with Price <= 9999; these are all items added in 2.0.0)
If you have skipped Museum Level 2 (museum with no art), and skipped straight to Museum Level 3 (museum with art gallery unlocked), then the first time you meet Redd, all the fake art on his ship will be converted to real art (this means that there is a 10%/30%/50%/10% chance of 1/2/3/4 pieces of real art that must have a fake art analogue). This does not apply to anyone who upgrades from Museum Level 2 to Museum Level 3 after the update – such players will get a normal roll of art. This is the only time that Redd will not have at least one piece of fake art.
Harv’s Island
Mid-Week Replenished Inventory
Items that are sold out are replaced the next day. The rate for real art begins at 20%, and increases by 5% every time you buy a fake piece of art from Redd (cLand:FoxCommuneRealRate).
This pulls from the entire real art/fake art pool.
There is a maximum of two pieces of real art a week generated, before you are guaranteed fake art (cLand:FoxCommuneRealNum).
Start of Week
Before inventory is reset, any sold-out slots are replenished (but these items cannot be bought because the inventory is immediately reset right after).
At the start of the week, the entire inventory is reset as follows:
- if the shop never stocked a real piece of art (regardless of whether you bought it or not) last week, there is a 100% chance of one slot having a real piece of art, and a 30% chance of the second slot having a real piece of art.
- note that if there were sold-out slots right before the start of the week, and a real art was generated in that slot, this does not apply, even though you had no chance to buy it.
- otherwise, both slots roll for a 30% chance of a real piece of art.
The rate for real art for mid-week replenished inventory is reset back to 20%.
The real art generated at the start of the week pulls only from the pool of real art that has a fake art analogue – art with only real versions cannot be generated at the start of the week.
Saharah
Harv’s Island
Saharah sells 8 items, which change weekly, with a 20% markup on all items. These items are pulled from:
- ItemKind = RoomWall, ItemFrom = LaurentWallFloor (normal Saharah wallpaper)
- ItemKind = RoomWall, ItemFrom = CmlCommune_WallFloor (new Saharah wallpaper)
- ItemKind = RoomFloor, ItemFrom = LaurentWallFloor (normal Saharah flooring)
- ItemKind = RoomFloor, ItemFrom = CmlCommune_WallFloor (new Saharah flooring)
- ItemKind = Rug, ItemFrom = RugS/RugM/RugL (normal rug, any size)
- ItemKind = Rug, ItemFrom = RugS/RugM/RugL (normal rug, any size)
- ItemKind = Rug, ItemFrom = CmlCommune_RugS/CmlCommune_RugM/CmlCommune_RugL (new rug, any size)
- ItemKind = Rug, ItemFrom = CmlCommune_RugS/CmlCommune_RugM/CmlCommune_RugL (new rug, any size)
Visitor
As before the 2.0.0 update, Saharah sells 5 items from unchanged pools:
- ItemKind = Rug, ItemFrom = RugL (normal large rug)
- ItemKind = Rug, ItemFrom = RugM (normal medium rug)
- ItemKind = Rug, ItemFrom = RugS (normal small rug)
- ItemKind = RoomWall, ItemFrom = LaurentWallFloor (normal Saharah wallpaper)
- ItemKind = RoomFloor, ItemFrom = LaurentWallFloor (normal Saharah flooring)
Saharah’s inventory selection has been changed to never overlap with the inventory displayed on Harv’s Island.
Kicks
Harv’s Island
Kicks sells 11 items, which change weekly, pulled from the exact same pool as when Kicks visits your island. There is no markup.
Visitor
As before the 2.0.0 update, Kicks sells 11 items.
If Kicks’ shop has not been built on Harv’s island, the item pools are unchanged as follows:
- Seasonality = AllYear or current season, ItemKind = Shoes, ItemFrom = ShoesBagShop (normal Kicks shoes that are in season) (x3)
- Seasonality = AllYear or current season, ItemKind = Socks, ItemFrom = ShoesBagShop (normal Kicks socks that are in season) (x3)
- Seasonality = AllYear or current season, ItemKind = Bag, ItemFrom = ShoesBagShop (normal Kicks bags that are in season) (x5)
- if it is not October, ItemFrom may also be ShoesBagShop_Halloween (6 colours of impish wings)
If Kicks’ shop has been built on Harv’s island, the item pools for Kicks as a visitor change to:
- Seasonality = AllYear or current season, ItemKind = Shoes, ItemFrom = ShoesBagShop/ShoesBagShop_Commune (normal and new Kicks shoes that are in season) (x3)
- Seasonality = AllYear or current season, ItemKind = Socks, ItemFrom = ShoesBagShop/ShoesBagShop_Commune (normal and new Kicks socks that are in season) (x3)
- Seasonality = AllYear or current season, ItemKind = Bag, ItemFrom = ShoesBagShop (normal Kicks bags that are in season) (x2)
- ShoesBagShop_Halloween (the 6 colours of impish wings) are not available
- Seasonality = AllYear or current season, ItemKind = Bag/HandBag, ItemFrom = ShoesBagShop_Commune (new Kicks bags that are in season) (x3)
Kicks’ inventory when visiting may overlap with the inventory on Harv’s island.
Note: impish wings are no longer sold by Kicks once you build the shop on Harv’s island.
Vegetables
The new vegetables generally function identically to pumpkins internally, aside from changing colors, which only pumpkins do.
Nook Miles Redemption Unlock Criteria
Some of these are from before 2.0.0 but putting here anyways.
| Item | Condition |
|---|---|
| Pro Construction License | Island Representative, Have 8 bridges and/or 8 inclines |
| Hip Reaction Collection | Upgraded Resident Services, Unlocked reactions |
| New Reactions Notebook | Upgraded Resident Services, Have Hip Reaction Collection (catalogue check) |
| Top 6 Stylish Hairstyles | Upgraded Resident Services; Bought Top 8 Pop Hairstyles, Top 8 Cool Hairstyles |
| Top 4 Fab Hairstyles | Upgraded Resident Services; Bought Top 8 Pop Hairstyles, Top 8 Cool Hairstyles, Top 6 Stylish Hairstyles |
| Pro Decorating License | Has seen explanation for normal interior decoration. This can also be received from a phone call from Lottie (HHP), and if you have already bought the license before the call, the cost will be refunded by mail instead. |
| Be a Chef! DIY Recipes+ | Not visiting someone, Upgraded Resident Services, K.K. Slider has visited, Unlocked DIY customization |
| Custom Fencing in a Flash | Unlocked DIY customization, Made at least two types of fences |
Fortune
Selection
If you had bad fortune, you are guaranteed good fortune the next day. If you had good fortune, you have a 70% chance of getting good fortune the next day.
Your fortune is then picked randomly out of eligible good (or bad) fortunes.
| Fortune | Condition |
|---|---|
| Money (Good) | None |
| Money (Bad) | None |
| Friendship (Good) | Not Event, Not Villager Birthday |
| Friendship (Bad) | None |
| Belongings (Good) | Not Event, Not Villager Birthday, May Day not available |
| Belongings (Bad) | May Day not available |
| Health (Good) | May Day not available |
| Health (Bad) | May Day not available |
May Day not available: it is either not the right time of year, or you have already gone on the May Day Tour.
Purification
If you received a bad fortune, and have at least 10000 bells on you (after paying the initial fee of 1000 bells) you will be given the option to pay 10000 bells to be purified. This causes the fortune to not be set: there will be no effects from fortune whatsoever for the day.
Each time you get purified, you will receive a random item out of the following list (all equal probability) in the mail the next day:
- mini dharma
- horseshoe door decoration
- gold turtle figurine
- power stone
Effect
Money (Good)
- Glowing Spot will contain 5k bells instead of 1000 bells
- Shaken Trees drop 300 bells instead of 100 bells
- Rock Drops (both hitting and breaking) are altered
- Money rocks will start with the 200 bell drop instead of the 100 bell drop; the final drop after the 8000 bell drop will be a 10000 bell drop
- Breaking the money rock before the hit timer ends will drop 10000 bells instead of 8000 bells
- When Bunny Day events are not active, normal rocks on your island are significantly more likely to drop gold nuggets and less likely to drop stones:
- Hitting rock once
Item Probability stone 50% -> 40% iron nugget 34% clay 15% gold nugget 1% -> 11% - Note: (with or without good money fortune) you can only get up to one gold nugget from hitting rocks on your island, governed by the
cPlayer:PopDiyGoldFromStoneTodayflag, per player per day, after which, any would-be gold nugget drops on your island become iron nuggets. This cap only affects hitting rocks, and not breaking them. Gold nugget drops from mystery tour islands (Nook Miles Ticket or Kapp'n Boat Tour) will count toward the limit but will not be transformed into iron nuggets.
- Note: (with or without good money fortune) you can only get up to one gold nugget from hitting rocks on your island, governed by the
- Breaking before hit timer ends
Item Probability clay 49% -> 40% iron nugget 49% -> 40% gold nugget 2% -> 20%
- Hitting rock once
- Money rocks will start with the 200 bell drop instead of the 100 bell drop; the final drop after the 8000 bell drop will be a 10000 bell drop
- Balloon 1000 bell drops are replaced with 3000 bells
Money (Bad)
- There will be no Glowing Spot
- Rock Drops (both hitting and breaking) are altered
- Money rocks will act like normal rocks
- When Bunny Day events are not active, normal rocks on your island will never drop gold nuggets and will drop iron instead:
- Hitting rock once
Item Probability stone 50% iron nugget 34% -> 35% clay 15% gold nugget 1% -> 0% - Breaking before hit timer ends
Item Probability clay 49% iron nugget 49% -> 51% gold nugget 2% -> 0%
- Hitting rock once
- Balloon 5000, 10000, and 30000 bell drops are replaced with 1000 bells
- You will not be sent to Gold Island when using a Nook Miles Ticket
Friendship (Good)
- +1 friendship to random villager whom you have talked with before, effective immediately after talking to Katrina
- Villagers may come up to you to give you a gift
- 30% chance of being an item from
ShopOneRoomorShopOneRoomMiscGoods(some of the furniture added in the 2.0.0 update), with a max buy price of 3000 bells or 100 times friendship points in bells, whichever is higher - 70% chance of being an item from
ShopLv1,ShopLv2, orShopMiscGoods(smaller furniture found in Nook's Cranny from before 2.0.0 update), with a max buy price of 2000 bells or 100 times friendship points in bells, whichever is higher
Friendship (Bad)
- -3 friendship to random villager whom you have talked with before, effective immediately after talking to Katrina
Belongings (Good)
- Villagers may come up to you to give you a gift
- 50% chance of being an item from
ShopOneRoomorShopOneRoomMiscGoods(some of the furniture added in the 2.0.0 update), with a max buy price of 3000 bells or 100 times friendship points in bells, whichever is higher - 50% chance of being an item from
ShopLv1,ShopLv2, orShopMiscGoods(smaller furniture found in Nook's Cranny from before 2.0.0 update), with a max buy price of 2000 bells or 100 times friendship points in bells, whichever is higher - Tools do not consume any durability
- If you have a tool that has already been used beyond its limits (using a shovel/axe on a rock resulting in dropped items, on a normal day will consume durability, even past its limit, even though it will not break immediately), it will still be destroyed
- You are guaranteed to roll for a rare Kapp’n island
- You are guaranteed OneRoom islands (glowing moss) when you roll for a rare Kapp’n island but your character is too new to visit it
Belongings (Bad)
- Tools may consume an extra durability point on use, with 30/99 (~30.3%) probability
- Kapp’n will only send you to a Haniwa (Normal) island
- Clay is spawned instead of Gyroid Fragments
- You will not be sent to Gold Island when using a Nook Miles Ticket
Health (Good)
- Increases to Food Powerup Gauge (eating) are doubled
- Dialogue change when using a toilet (no difference in functionality)
Health (Bad)
- Increases to Food Powerup Gauge (eating) are halved
- Dialogue change when using a toilet (no difference in functionality)
- Possibility of tripping
Revealing Friendship
Asking Katrina to divine your friendship with a specific villager will indirectly tell you what level of friendship you are at with the villager. If your friendship level with the villager is less than 5, you may pay an additional 10000 bells to have her perform a friendship blessing, giving a small boost in friendship points:
| Friendship Level | Text | Friendship Point Boost |
|---|---|---|
| 0* | I see many faces… But I do not see… No, I do not see yours among them. | n/a |
| 1 | I see that, as one neighbor might recognize another… | 2 |
| 2 | As someone who lives with you on the same island, your acquaintance… | 2 |
| 3 | Oh, and there is your face… And again… And again… Perhaps 20 percent of the faces… | 2 |
| 4 | When [he|she] eats or sleeps, [he|she] thinks of you… | 2 |
| 5 | I see many faces before me… You smile… You frown… | n/a |
| 6 | I see many faces before me… You smile… You frown… | n/a |
* if you have never talked to the villager selected before
Cyrus Customization
The cost to customize an item is 700 * RemakeKitNum + 300 if RemakeKitNum is less than 8, and 800 * RemakeKitNum otherwise. Both the number of kits and the cost through Cyrus can be searched up on catalogue.ac.
Any item with ReBodyPatternNum != -1 or ReFabricPatternNum != -1 can be customized (effectively everything that has variants).
Gyroids
There are no requirements before buried Gyroid Fragments start growing to Gyroids – it is possible to grow Gyroid Fragments without building a house or unlocking the vaulting pole, by burying the Gyroid Fragment and ensuring the tile it is on is wet (either by rain or by watering it) before the day ends.
Gyroids may randomly spawn only after you have successfully grown a Gyroid Fragment to a Gyroid on your island (cLand:UnlockGyroidMainField). Random gyroid(s) will spawn after experiencing rain, as long as you have already grown a Gyroid Fragment into a Gyroid on your island before (even before Kapp’n is unlocked, or before you have done anything except reach a point where the game can be saved).
Both randomly spawned Gyroids and Gyroids grown from Gyroid Fragments pull from the full pool of Gyroids excluding Brewstoid uniformly. Brewstoid will never grow from a Gyroid Fragment or spawn randomly on your island. The type of Gyroid is picked first, then a variant is picked uniformly at random.
The day after rain, two Gyroids appear buried on your island (space permitting). There is a maximum of 4 buried (not placed) Gyroids on your island before Gyroids stop spawning (if you have 3 buried Gyroids before the day ends, you only get 1).
There are no limits on how many Gyroid Fragments may grow into Gyroids. Gyroid Fragments growing into Gyroids happens after Gyroids are randomly spawned, and do not affect the 4 buried Gyroid cap.
The type of Gyroid that spawns (either randomly or from a Gyroid Fragment) is fixed during GrowUp before daily announcements.
Isabelle
When complaining to Isabelle about a villagers' clothing, the villager's UsuallyTops, UsuallyCap, and UsuallyAccessory (the items currently worn) are cleared from WearStockList.
Golden Watering Can
As of 2.0.0, using the golden watering can will allow up to all 9 flowers in range of the can, if they are black roses, to produce a gold rose, even if used by a player on their own island.
HHP
Grade and Rank
You have both a Grade (cWherearenPlayer:CoordinatorGrade) which is visible to you, and a Rank (cWherearenPlayer:CoordinatorRank) which is not.
Your Grade (0 - 6) determines your pay, among other things:
| Grade | Reward | Title | Average Approach Rate* | Requirement |
|---|---|---|---|---|
| 0 | 6000 poki | – | 0% | None |
| 1 | 9000 poki | Promising Designer | 0% | Complete 6 requests |
| 2 | 12000 poki | Breakout Designer | 0% | Complete 11 requests |
| 3 | 15000 poki | Famous Designer | 6.127% | Complete 19 requests |
| 4 | 20000 poki | Superstar Designer | 10.311% | Complete 19 requests, have a Rank of 84 |
| 5 | 30000 poki | Legendary Designer | 12.940% | Complete 19 requests, have a Rank of 119 |
| 6 | 40000 poki | GOAT Designer | 22.674% | Complete 19 requests, have a Rank of 146 |
*approximate, likelihood for client approaches, which result in a 10% increase in reward. See below for how this is calculated; notably, Famous Designer will have gaps of at least 14 days between approaches.
Your rank (0 - 200) is calculated from a mix of factors:
| Factor | Increase in Rank |
|---|---|
| Number of Days accessing HHP | +1 for every 5 days, up to a maximum of +35 (175 days) |
| Number of NPCs Serviced | +5 if at least 10 |
| Number of NPCs Serviced | +5 if at least 20 |
| Number of NPCs Serviced | +5 if at least 30 |
| Number of NPCs Serviced | +5 if at least 50 |
| Number of NPCs Serviced | +10 if at least 100 |
| Number of NPCs Serviced | +10 if at least 200 |
| Number of NPCs Serviced | +10 if at least 300 |
| Number of NPCs Serviced | +10 if at least 400 |
| Number of Roommate Pairs Completed | +2 for every 5 pairs, up to a maximum of +20 (50 pairs) |
| Number of Plots (Islands) Filled | +10 if at least 16 |
| Number of Plots (Islands) Filled | +10 if at least 32 |
| Number of Plots (Islands) Filled | +10 if all 48 |
| Number of Facilities | +5 for each facility |
| Used a Partition Wall in HHP | +5 |
| Number of Villagers whose wallpaper/flooring is received* | +1 for every 3, up to a maximum of +15 (45 villagers) |
| Unlock Apparel Shop (after Home 30) | +10 |
* when over 20 minutes are taken for their request; must be actively decorating (timer stops after a minute of inactivity as tested by Stoney#9215).
Approach Rate
Clients may approach you only after you have reached Famous Designer (Grade 3). Approach rate (the likelihood for client approaches) varies depending on rank, and how long it has been since either the last client approach, or since you have reached Famous Designer, whichever is more recent (cWherearenPlayer:ApproachSelectMissedCount):
| Grade | Base Approach Rate | Additional Approach Rate | Average Rate | Average Days Between Approaches |
|---|---|---|---|---|
| 3 | 0% | 30 * floor(n / 14)% | 6.127% | 16.322 days |
| 4 | 1% | 15 * floor(n / 6)% | 10.311% | 9.698 days |
| 5 | 1% | 30 * floor(n / 6)% | 12.940% | 7.728 days |
| 6 | 10% | 20 * floor(n / 4)% | 22.674% | 4.410 days |
(n = cWherearenPlayer:ApproachSelectMissedCount)
Note that this means that for Grade 3 (Famous Designer), since the base rate is 0%, there will always be a period of 14 days between approaches where the approach rate is 0%, resulting in no approaches happening.
The reward for completing an approach request is 10% over your grade’s salary.
Restaurant Recipes
You can acquire a recipe once a day from the restaurant; this recipe should be drawn at random out of all the recipes a villager may be found making.
Poki-Bell Exchange
You are able to exchange poki and bells after being introduced to the ABD in HHP. The exchange rate is controlled by the cWherearenPlayer:PokiRate flag, which is limited to values in the range 0-200, representing the amount of bells equal to 100 poki. The game sets this rate according to the following distribution:
PokiRate |
Probability | 100 Poki = X Bells |
|---|---|---|
| 30 | 6% | 333 |
| 31 | 6% | 322 |
| 32 | 6% | 312 |
| 33 | 6% | 303 |
| 34 | 6% | 294 |
| 35 | 6% | 285 |
| 36 | 5% | 277 |
| 37 | 5% | 270 |
| 38 | 5% | 263 |
| 39 | 5% | 256 |
| 40 | 5% | 250 |
| 41 | 5% | 243 |
| 42 | 5% | 238 |
| 43 | 5% | 232 |
| 44 | 5% | 227 |
| 45 | 5% | 222 |
| 46 | 3% | 217 |
| 47 | 3% | 212 |
| 48 | 3% | 208 |
| 49 | 3% | 204 |
| 50 | 2% | 200 |
The amount of bells you exchanged for poki in a day is stored in cWherearenPlayer:DailyExchangeBell and the amount of poki you exchanged for bells in a day is stored in cWherearenPlayer:DailyExchangePoki; both values are capped at 50000. There is a in-code limit of 15000 poki exchanging to bells.
Poki Item Cost
Items bought with Poki cost 90% of the Bell price, in Poki, subject to the following rounding rules:
- if the (buy) price of an item in Bells is 1111 or less, round to the nearest multiple of 10 Poki after multiplying by 90%
- if the (buy) price of an item in Bells is 1112 or more, round to the nearest multiple of 100 Poki after multiplying by 90%
Plots/Islands
Season
Each plot has a set of 4 fixed dates, corresponding to each of the four seasons; this determines the date that will be in effect for each of the seasons. The year is always set to 2020, and the hemisphere should be fixed to Northern Hemisphere.
Recommended Season
| 1 | 2 | 3 | 4 | 5 | 6 | 7 | |
|---|---|---|---|---|---|---|---|
| A | Summer | Summer | Summer | Autumn | Winter | Winter | Winter |
| B | Summer | Spring | Summer | Summer | Winter | Winter | Winter |
| C | Summer | Spring | Summer | Summer | Summer | Summer | Summer |
| D | Summer | Summer | Summer | – | Summer | Summer | Summer |
| E | Autumn | Summer | Summer | Summer | Summer | Spring | Spring |
| F | Autumn | Autumn | Summer | Summer | Summer | Summer | Spring |
| G | Summer | Summer | Summer | Summer | Summer | Summer | Summer |
Spring
| 1 | 2 | 3 | 4 | 5 | 6 | 7 | |
|---|---|---|---|---|---|---|---|
| A | Apr 15 | Apr 10 | May 15 | May 15 | Apr 10 | Apr 20 | Mar 20 |
| B | May 25 | May 20 | Apr 15 | Apr 25 | Mar 20 | Apr 10 | Apr 20 |
| C | Apr 30 | May 25 | Mar 30 | May 15 | Apr 30 | May 20 | Mar 25 |
| D | Mar 30 | Mar 30 | Mar 20 | – | Apr 30 | Apr 20 | Apr 15 |
| E | Mar 30 | Apr 10 | Mar 25 | Apr 20 | Apr 15 | Apr 10 | Apr 10 |
| F | May 15 | Apr 10 | Apr 20 | Apr 15 | May 20 | Apr 20 | Apr 10 |
| G | Apr 25 | Apr 10 | Apr 20 | May 20 | May 25 | Apr 25 | Mar 25 |
Summer
| 1 | 2 | 3 | 4 | 5 | 6 | 7 | |
|---|---|---|---|---|---|---|---|
| A | Jul 15 | Jul 21 | Aug 30 | Aug 20 | Jun 30 | Aug 30 | Jul 10 |
| B | Aug 30 | Aug 20 | Jul 21 | Aug 15 | Jul 10 | Jun 20 | Jul 15 |
| C | Aug 20 | Aug 25 | Aug 20 | Aug 15 | Jul 25 | Aug 20 | Jul 15 |
| D | Jul 21 | Aug 15 | Jul 15 | – | Aug 5 | Aug 10 | Aug 25 |
| E | Jun 25 | Jul 21 | Jul 21 | Aug 10 | Aug 20 | Jul 20 | Aug 5 |
| F | Aug 10 | Aug 25 | Jul 30 | Jul 10 | Aug 15 | Jul 20 | Jul 5 |
| G | Jul 25 | Aug 15 | Jul 10 | Aug 15 | Aug 25 | Jul 30 | Jul 25 |
Autumn
| 1 | 2 | 3 | 4 | 5 | 6 | 7 | |
|---|---|---|---|---|---|---|---|
| A | Nov 12 | Nov 20 | Nov 15 | Oct 20 | Nov 16 | Oct 20 | Nov 15 |
| B | Nov 14 | Oct 20 | Oct 30 | Nov 15 | Nov 14 | Nov 5 | Nov 15 |
| C | Nov 13 | Nov 15 | Nov 14 | Nov 14 | Nov 15 | Oct 20 | Nov 15 |
| D | Oct 30 | Nov 15 | Nov 12 | – | Nov 5 | Nov 12 | Oct 20 |
| E | Nov 15 | Nov 19 | Nov 15 | Nov 15 | Nov 15 | Nov 20 | Nov 15 |
| F | Nov 12 | Nov 16 | Oct 30 | Nov 12 | Nov 10 | Nov 10 | Nov 22 |
| G | Nov 15 | Nov 23 | Nov 15 | Nov 15 | Nov 10 | Nov 10 | Nov 15 |
Winter
| 1 | 2 | 3 | 4 | 5 | 6 | 7 | |
|---|---|---|---|---|---|---|---|
| A | Feb 24 | Dec 30 | Feb 5 | Dec 25 | Feb 24 | Dec 30 | Dec 25 |
| B | Jan 20 | Jan 20 | Feb 20 | Jan 15 | Dec 25 | Dec 25 | Jan 15 |
| C | Jan 25 | Feb 15 | Feb 5 | Jan 5 | Feb 10 | Jan 5 | Jan 10 |
| D | Jan 25 | Jan 10 | Dec 15 | – | Dec 30 | Dec 30 | Feb 5 |
| E | Jan 10 | Feb 15 | Dec 20 | Dec 20 | Jan 30 | Dec 30 | Dec 15 |
| F | Jan 5 | Feb 20 | Jan 15 | Dec 30 | Feb 20 | Feb 15 | Dec 25 |
| G | Dec 15 | Dec 20 | Dec 20 | Jan 20 | Feb 10 | Jan 30 | Feb 10 |
Weather
When you pick between rain and no rain for weather, the game applies either the Rain07 or Fine07 patterns:
| Name | 0:00 | 1:00 | 2:00 | 3:00 | 4:00 | 5:00 | 6:00 | 7:00 | 8:00 | 9:00 | 10:00 | 11:00 |
|---|---|---|---|---|---|---|---|---|---|---|---|---|
| Fine07 (AM) | Clear | Sunny | Clear | Sunny | Cloudy | Clear | Sunny | Clear | Sunny | Clear | Sunny | Sunny |
| Fine07 (PM) | Clear | Sunny | Clear | Sunny | Sunny | Clear | Sunny | Clear | Sunny | Sunny | Sunny | Cloudy |
| Rain07 (AM) | Rain Clouds | Rain | Heavy Rain | Rain | Rain Clouds | Rain | Heavy Rain | Cloudy | Cloudy | Rain | Heavy Rain | Heavy Rain |
| Rain07 (PM) | Rain | Heavy Rain | Rain Clouds | Rain | Heavy Rain | Rain | Rain | Heavy Rain | Rain Clouds | Heavy Rain | Heavy Rain | Rain |
(using the same translations used by MeteoNook: 快晴 = Clear, 晴れ = Sunny, 曇り = Cloudy, 雨雲 = Rain Clouds, 雨 = Rain, 大雨 = Heavy Rain).